Step 8. Calibrate Accelerometer
What You Need:
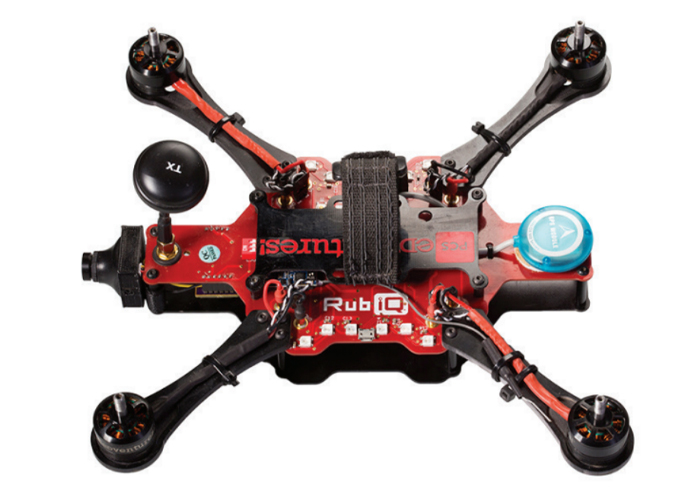
RubiQ 1.0 or 1.5
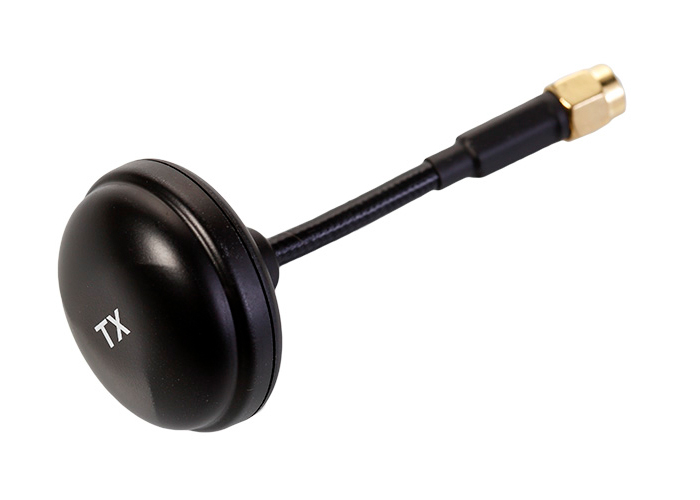
Antenna
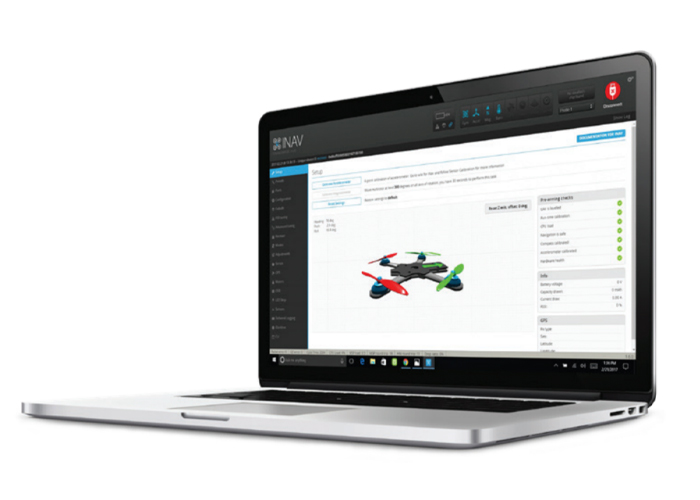
INAV 1.6.2
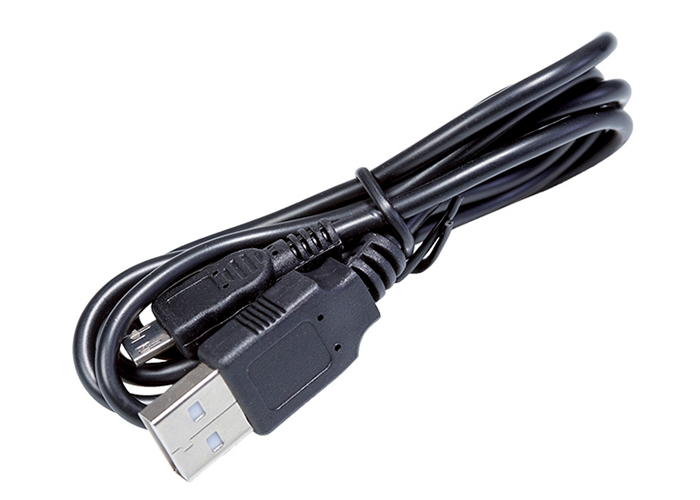
Micro USB
Steps:
WARNING! Remove props and attach the antenna before calibrating the accelerometer.
- Connect RubiQ to INAV and open the Setup tab.
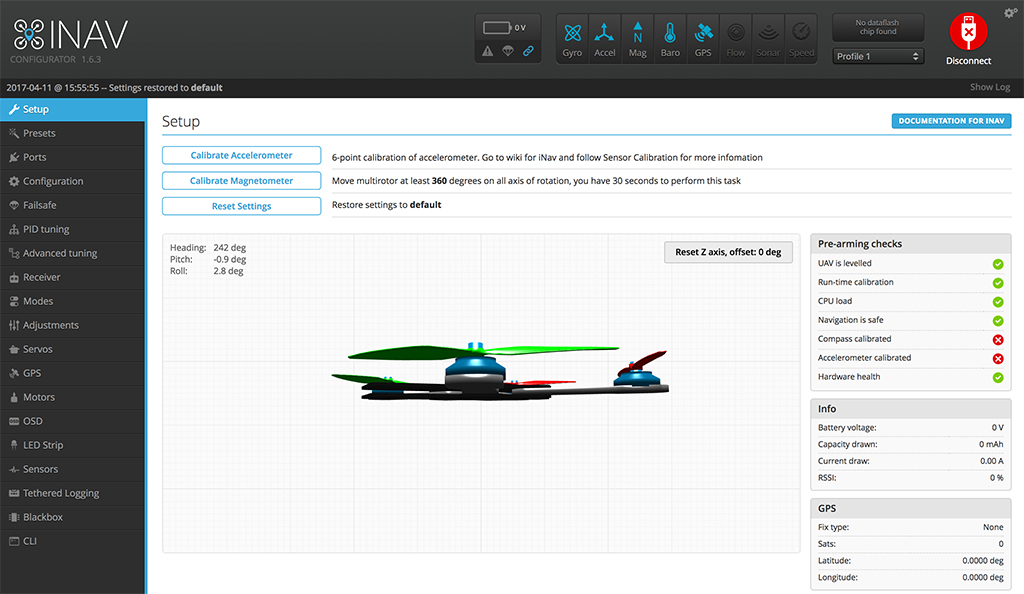
- Hold Rubi upside down, with the camera facing any direction. This is position 1 of the 6-point calibration. To keep track of your progress through the 6 steps, click Show Log in the upper right. INAV will report “Accelerometer calibration finished” after each step.
- Press the Calibrate Accelerometer button to activate the advanced calibration and record the first data point (Rubi upside down).
- You’ll need to record 5 more points of calibration. INAV’s algorithm will do the rest.
- To record the other data points, hold RubiQ in each position, then press the Calibrate Accelerometer button to capture the data. It’s okay if the drone isn’t perfectly aligned, as long as the positions are roughly 90 degrees apart and held stationary when the data is captured.
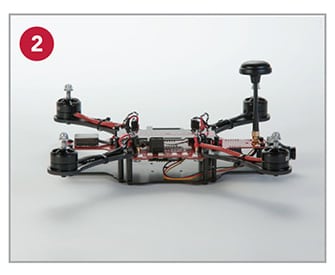
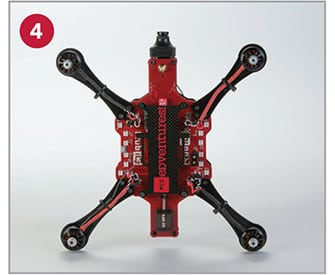
- Upside down
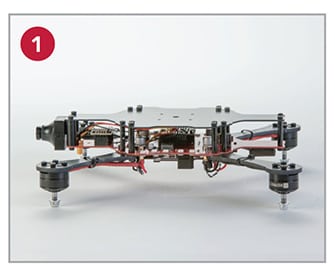
- Right side up (normal flat)
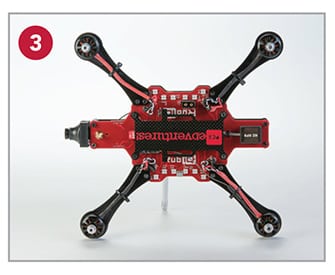
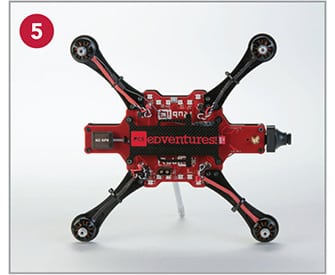
- Left side
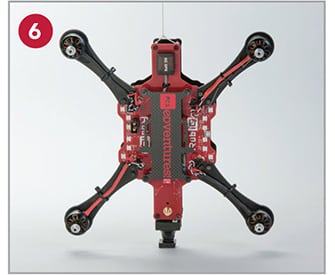
- Nose up
- Right side
- Nose down
- Upside down
- Rubi will beep twice after each of the first five steps and once after the last if the calibration was successful. The pre-arming check will also show a green checkmark next to Accelerometer Calibrated.
- If the calibration was successful, click Hide Log to return INAV to full screen.
If you don’t hear the single beep at the end or the green check mark does not appear, there’s no need to reset to default settings. Just disconnect RubiQ from INAV and start the accelerometer calibration again.