File Transfer via Micro-SD Card Reader
Note: this method requires the use of a USB card reader.
1. Open the rubber port cover on the bottom of the Taranis X7.

2. Remove the micro-SD Card from its slot and connect to the computer via SD Card reader.
*note that the metal pins on the card face up when re-inserting the card.
3. Put the Micro-SD card into your card reader and attach to your computer.
Transfer Files from the downloaded folder to the Taranis’s micro-SD card
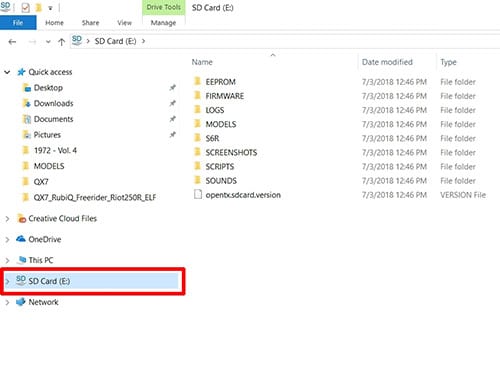
4. Ensure that the Computer sees the Taranis’s micro-SD card drive. On a Windows device, the drive will appear as “SD Card.” You are transferring the files you just downloaded from the “QX7_RubiQ_Freerider_Riot250R_ELF” folder on your computer to the “SD Card” drive. DO NOT transfer the files to the TARANIS drive! The TARANIS drive contains the software native to the controller and is not large enough to hold the files you are transferring.
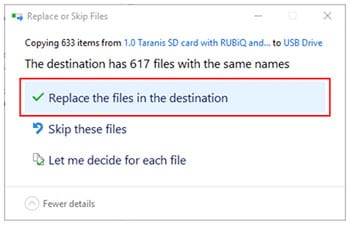
5. Select all the folders in the “QX7_RubiQ_Freerider_Riot250R_ELF” folder. Drag them into the file window showing the folders in the “SD Card” drive (the names of the two sets of files will be similar or identical). When given the option, choose to Replace the files in the new destination.
- Safely eject the “SD Card” drive to prevent corruption of data.
- Safely eject the TARANIS drive.
- Power down the Taranis.
- Reinsert the Micro SD Card into the port on the Taranis controller.
Failsafe Warning
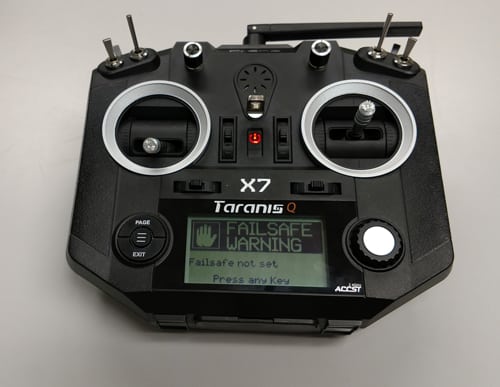
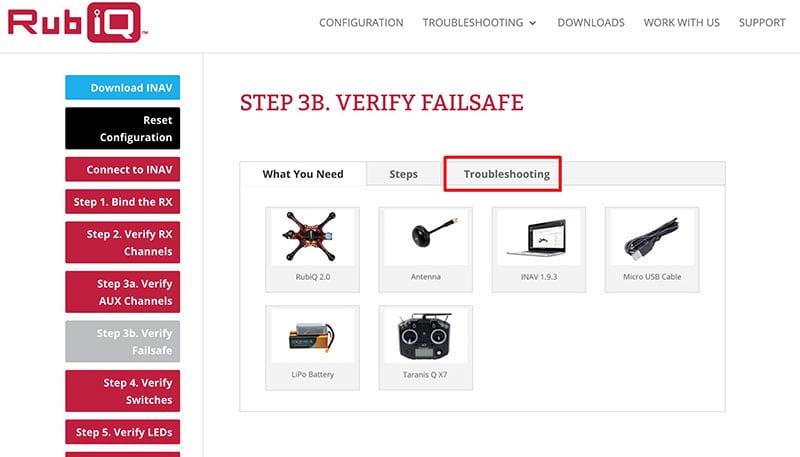
6. You should always reset the failsafe before flying. Failure to reset the failsafe before flying may result in an out-of-control drone in the event you lose connection with your RubiQ mid-flight. To learn how to reset the failsafe, refer to the troubleshooting tab in Step 3b in the RubiQ Configuration Guide.
Apply the Appropriate Model
7. Power up the Taranis.
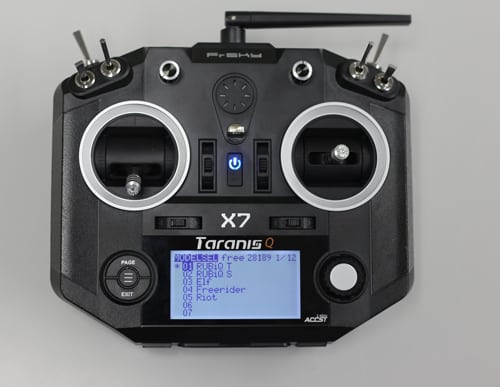
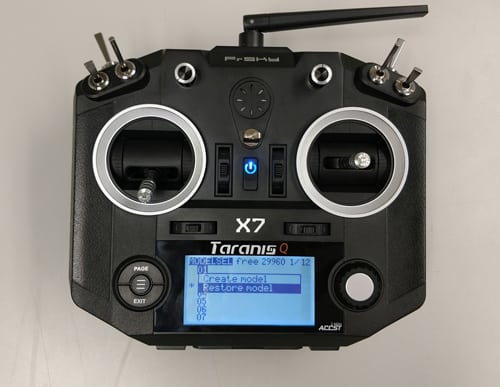
8. Click on the MENU Button to enter the “Model Selection” Screen. At this point, the screen will look exactly as it did before.
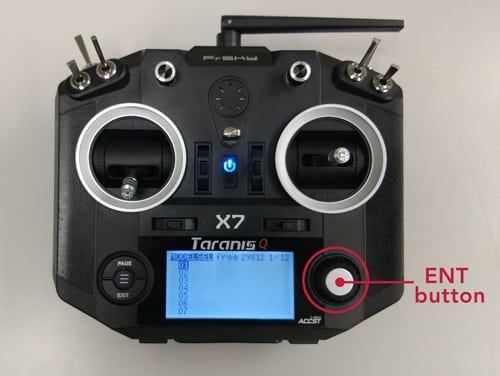
9. Press the ENT Button (push the right selection wheel) and select the “Restore Model” option
10. Select the RubiQ T model from the model list (RubiQ T, RubiQ S, ELF, FreeRider, RIOT) and push ENT. RubiQ T should now appear as a model.
11. Scroll down to the next available number and repeat steps 9 and 10 for each of the remaining models.