Step 8. Calibrate Accelerometer
What You Need:
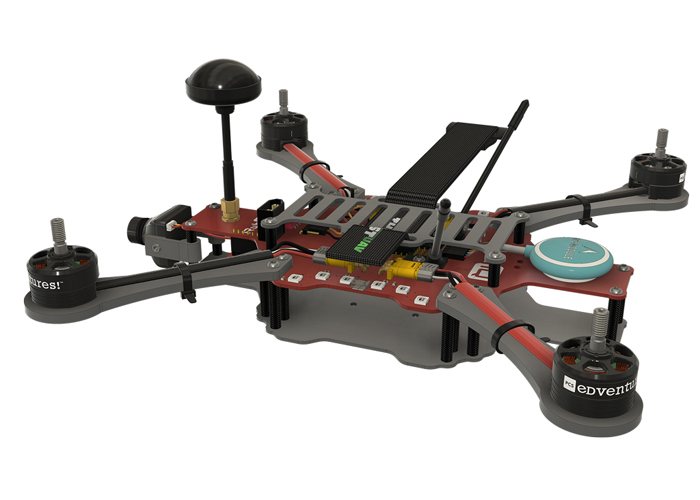
RubiQ 2.0
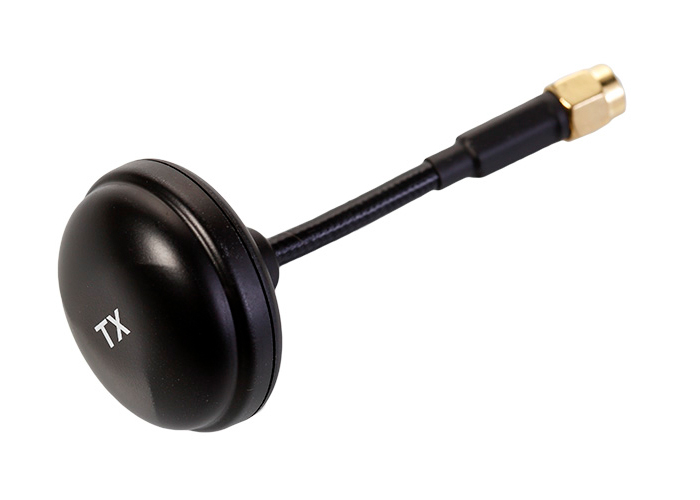
Antenna
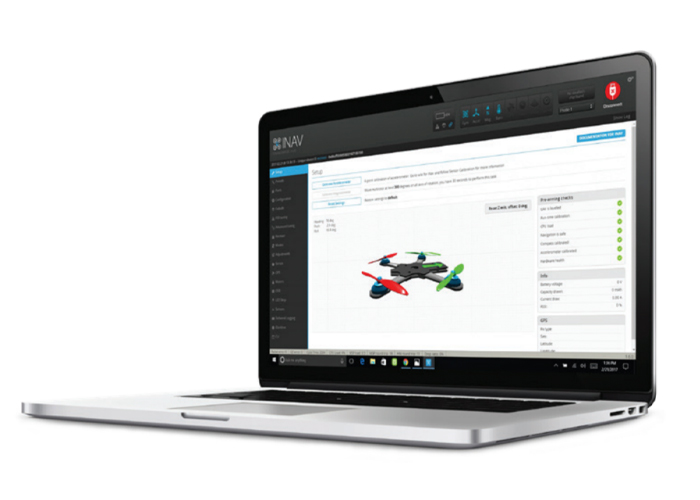
INAV 1.9.3
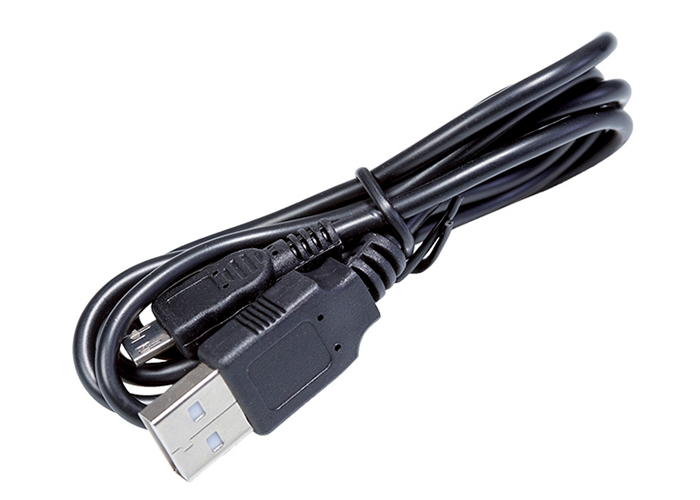
Micro USB
Steps:
WARNING! Remove props and attach the antenna before calibrating the accelerometer.
Connect RubiQ to INAV and open the Calibration tab.
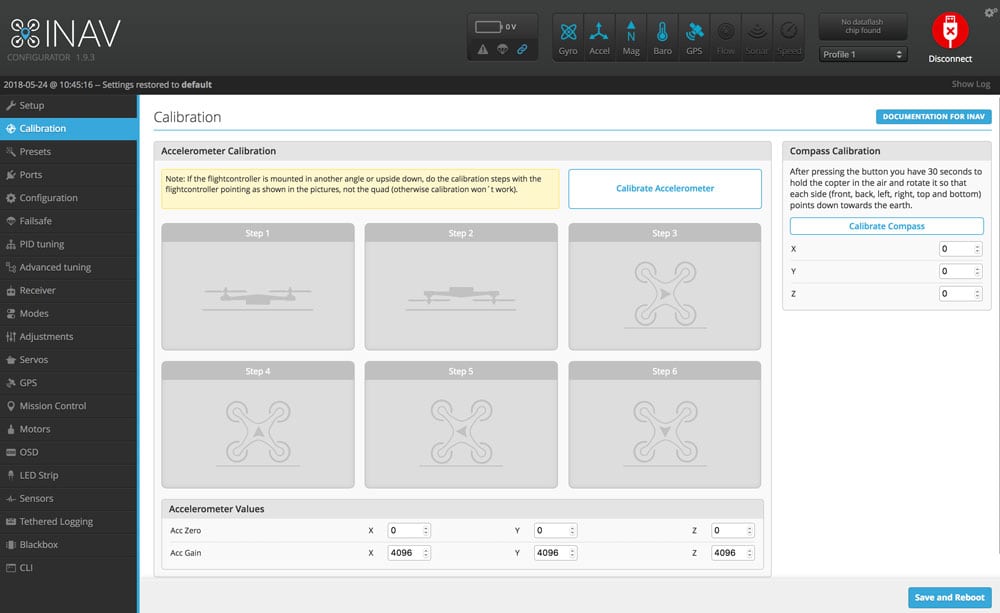
- Calibrating the accelerometer requires holding RubiQ in the 6 different positions shown on the screen. Click the Calibrate Accelerometer button, which will open a screen telling you to position Rubi in each of the 6 positions shown. Click OK.
- To record the data points, hold RubiQ in each of the 6 positions then press the Calibrate Accelerometer button again to capture the data. It’s okay if the drone isn’t perfectly aligned, as long as the positions are roughly 90 degrees apart and held stationary while the data is captured. RubiQ will beep three times and the corresponding step in INAV will check off after each data point is successfully recorded:
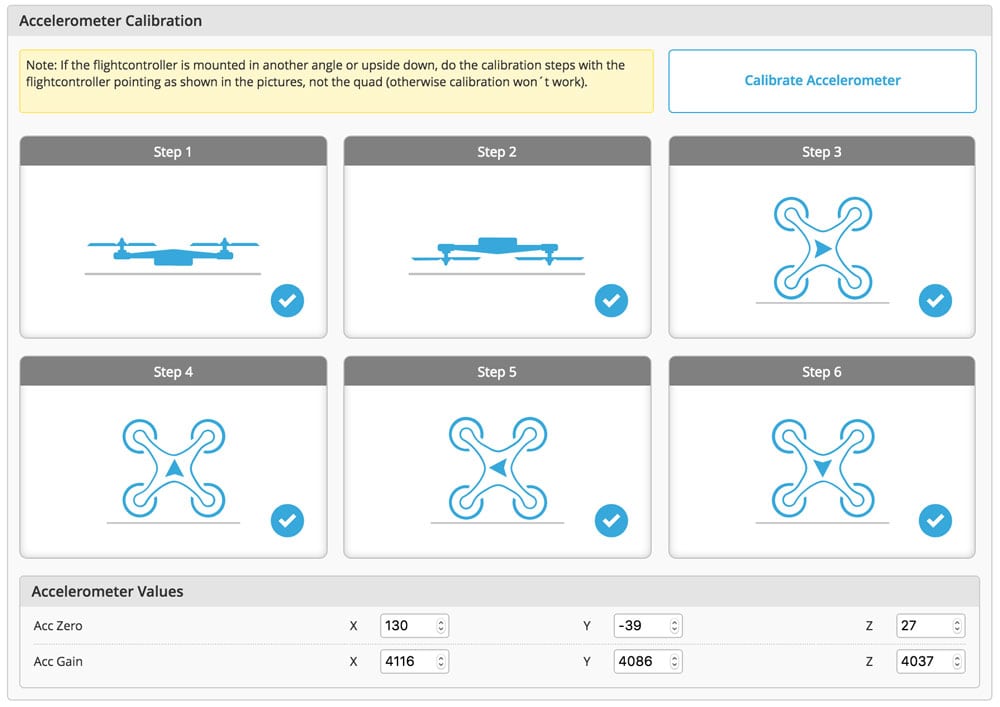
- After the sixth position, INAV will show a new screen telling you that the Calibration is complete.
If you hear a long screaming beep rather than three short beeps after the first step, the drone was probably not held in the correct orientation. Physically disconnect from INAV, check that the drone is flat on the table, right side up for Step 1 and start the process again.