Configuring the Taranis
The following steps showcase how to update the Taranis with the RubiQ (and FreeRider) models using either a “Mini USB” cable (USB A Male to USB Mini-B 5-pin Male) or an SD Card Reader.

Download and Prepare Necessary Files
- Download the RubiQ Configuration File for Taranis Radio Controller from the Downloads page here.
- Extract the contents of the downloaded file:
For Windows devices:
Find the downloaded ZIP file that begins with RUBiQ… Right-click the folder icon and select “extract all.” This will bring up a sub-menu asking you to select a destination for the extracted files. Press the “extract” option at the bottom.
A new file window will appear containing a series of folders. Keep this file window open.
For Mac OS X devices:
Find the downloaded ZIP file that begins with RUBiQ. Double-click the folder to begin unzipping the files. A new folder will appear. Keep the file window open.
Option 1: File Transfer via Mini USB Cable
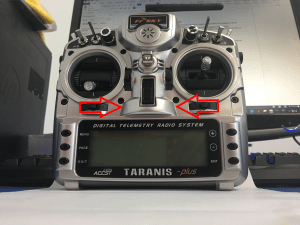
- Hold the horizontal trims inward and power on the Taranis.

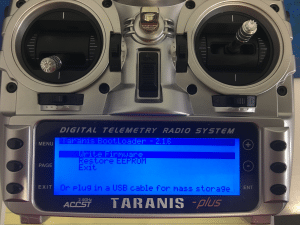
- If done correctly the “Bootloader” Screen should be displayed.
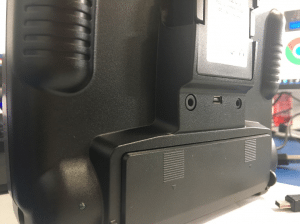
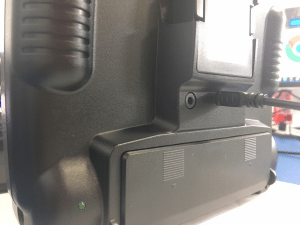
- Connect the Taranis to the Computer using a “Mini USB” cable.

Option 2: File Transfer via SD Card
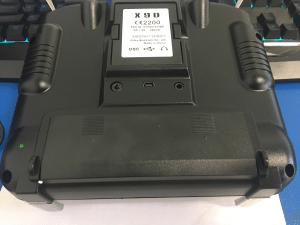
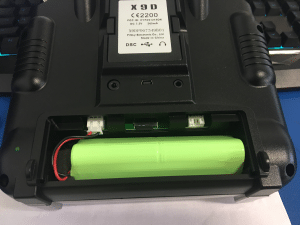
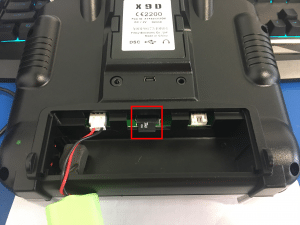
- Remove the Battery Cover for the Taranis.
- Remove the SD Card located within the Battery compartment and connect to the computer via SD Card reader or port.
Transferring Files to the Taranis
- Ensure that the Computer sees the Taranis Directory. On a Windows device, the directory will appear as a USB drive.

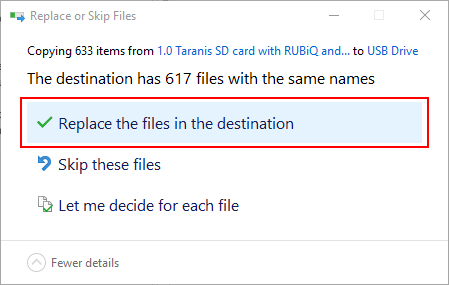
- Copy the Contents of the “1.0 Taranis SD card with RubiQ and FreeRider models.zip” folder to the root of the Taranis Drive. Be sure to replace the contents of the Taranis “USB Drive”, pictured above in the (D:) drive.

- Safely Eject the Taranis to prevent corruption of data.
- Power the Taranis down.

.
Applying the Appropriate Model
- Power up the Taranis.
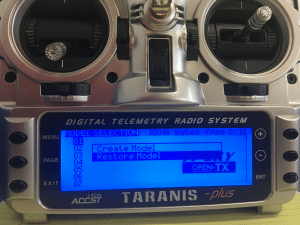
- Click on the MENU Button to enter the “Model Selection” Screen. At this point, the screen will look exactly as it did before.
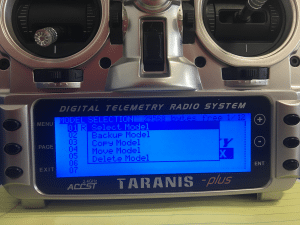
- Hold the ENT Button and select the “Restore Model” option.
- Select the desired model (RubiQ or FreeRider).
- Hold the ENT Button on the model and choose “Select Model”
- Verify that the model has been selected by observing the “*” character next to the model number.