Preflight Check
Now that RubiQ is configured, it’s time to head outside to put her through a thorough pre-flight check before lift-off.
A printable version of the very most up-to-date Preflight Checklist is available in the Downloads section at rubiq.edventures.com/file-downloads/.
This checklist is also found in all but the very earliest versions of the RubiQ Build Plans. Compare the Preflight Checklist in your build plans against the file available for download at rubiq.edventures.com/file-downloads/ to make sure you’re working with the most current information.
Before heading outside, review the compass calibration process below. RubiQ won’t be able to arm until you’ve completed this final configuration step, a feat that’s much easier when the drone isn’t tethered by the USB cord. Read over the steps now to ensure you’re ready for the real thing out at the flight field.
WARNING! Remove props and attach the antenna before plugging the battery into RubiQ.
- Find an open area, free of overhead trees, power lines and overhangs.
- Plug in RubiQ’s LiPo battery.
- Ensure your Taranis is not Armed.
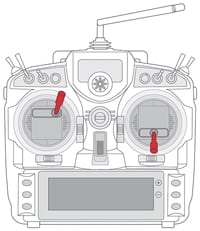
- Fire-up the Taranis and use these stick commands to initiate the compass calibration process. The motors will not spin as long as the Taranis is not Armed.

- When the drone starts beeping, release the sticks.
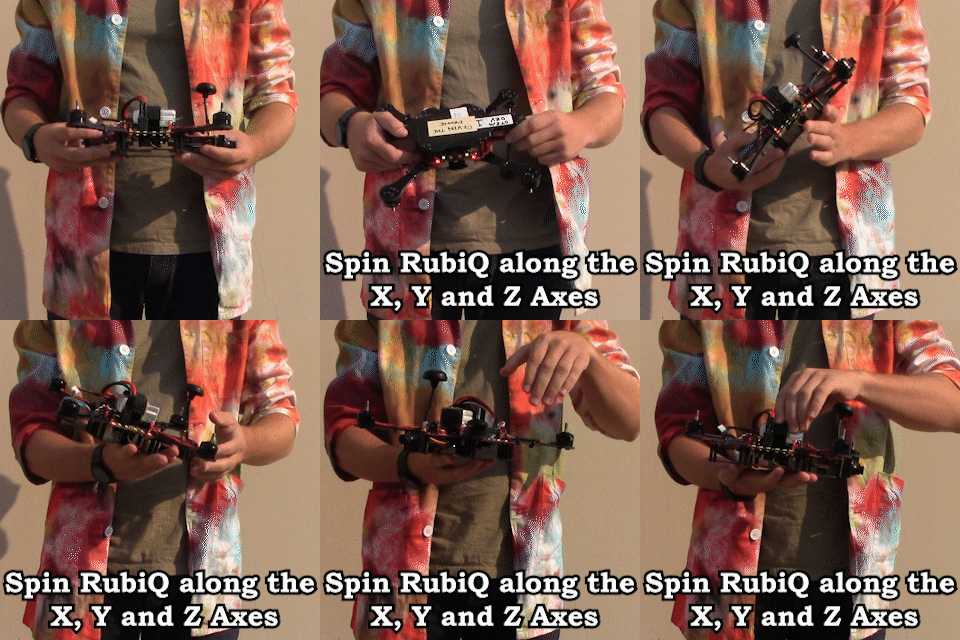
- Spin the drone with each of its six sides facing down. You have 30 seconds of beeping to complete the calibration. If you get through all six sides before the 30 seconds is up, keep cycling through until the beeping stops.


