Step 1. Bind the RX
What You Need:
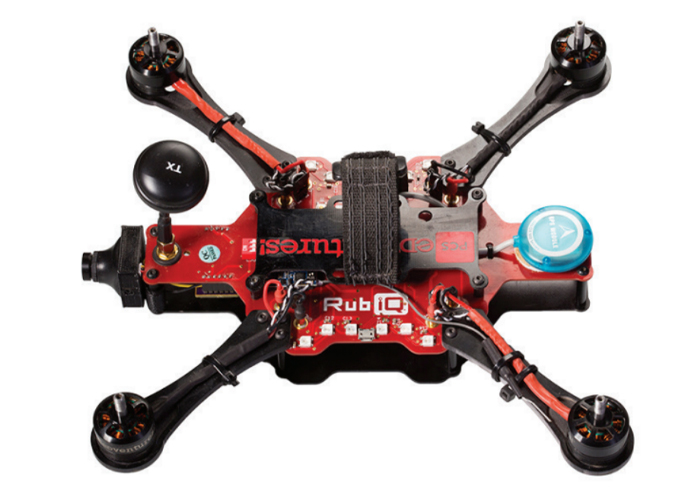
RubiQ 1.0 or 1.5
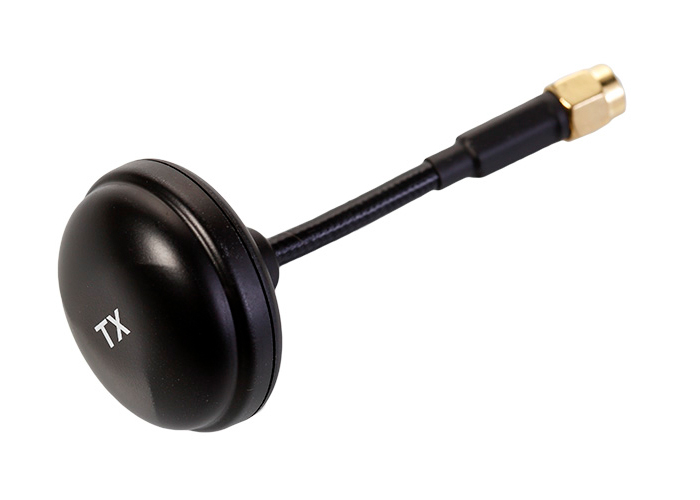
Antenna
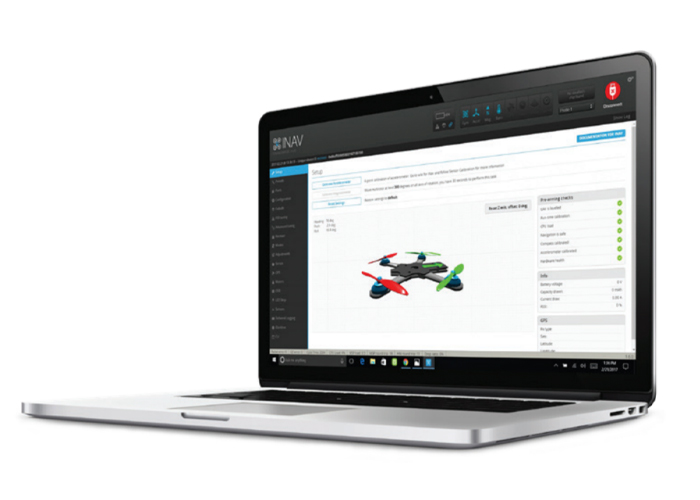
INAV 1.6.2
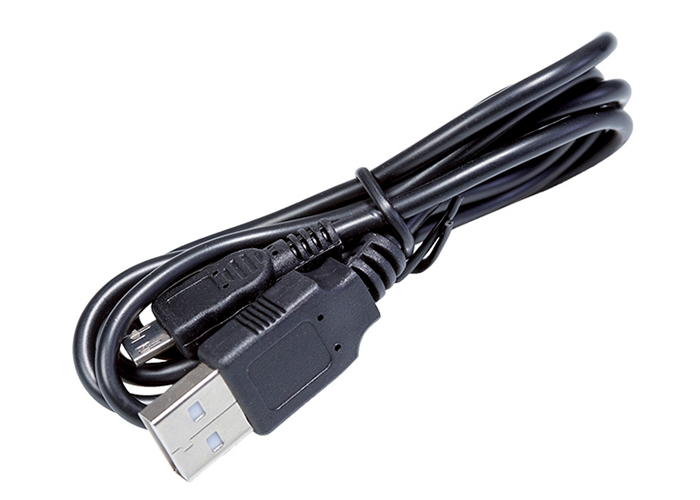
Micro USB
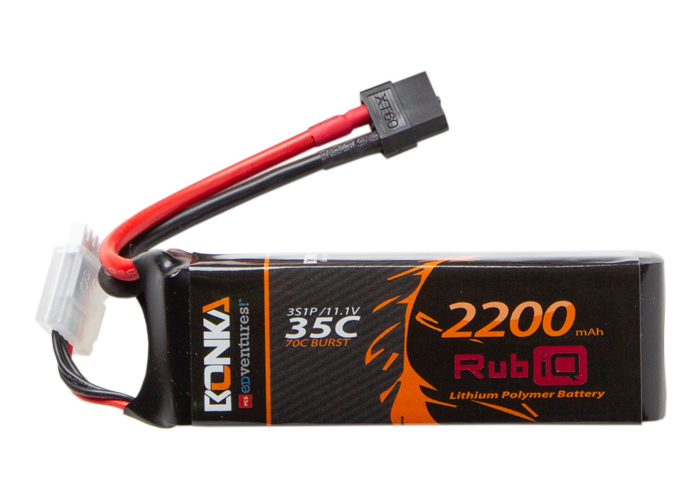
LiPo Battery
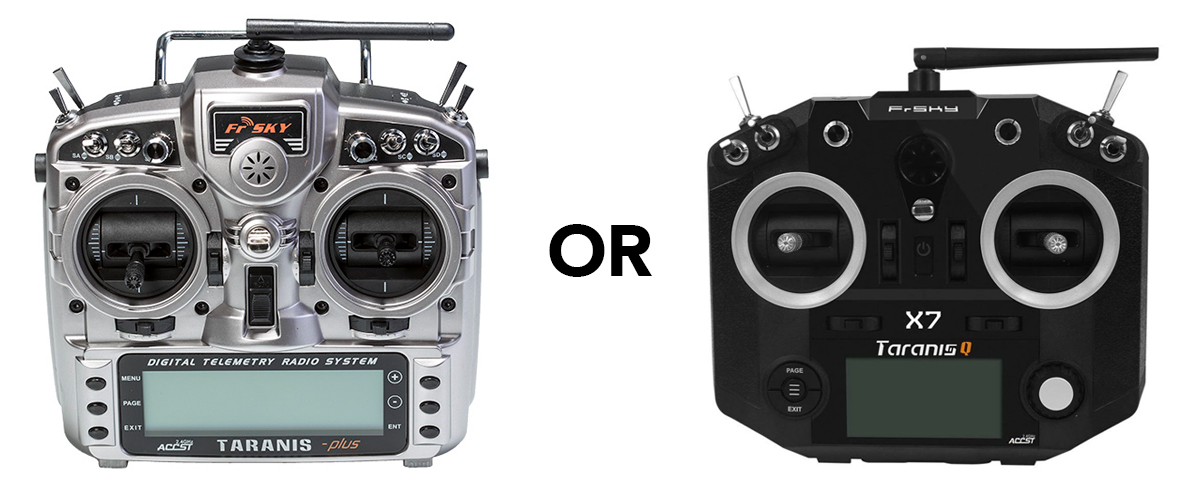
Taranis X9D or Taranis QX7
Steps:
WARNING! Remove props and attach the antenna before binding the receiver to the radio.
Note: be sure to bind one drone at a time to avoid cross-pairing to the incorrect radio controller.
RubiQ comes with a PPM receiver, which means it’s compatible with FrSky Taranis radios. FrSky manufactures several different radios, which each have their own binding process. These directions are for binding RubiQ to the X9D radio controller. If you have a different model, check out the tabs above for instructions specific to the other radio controllers.
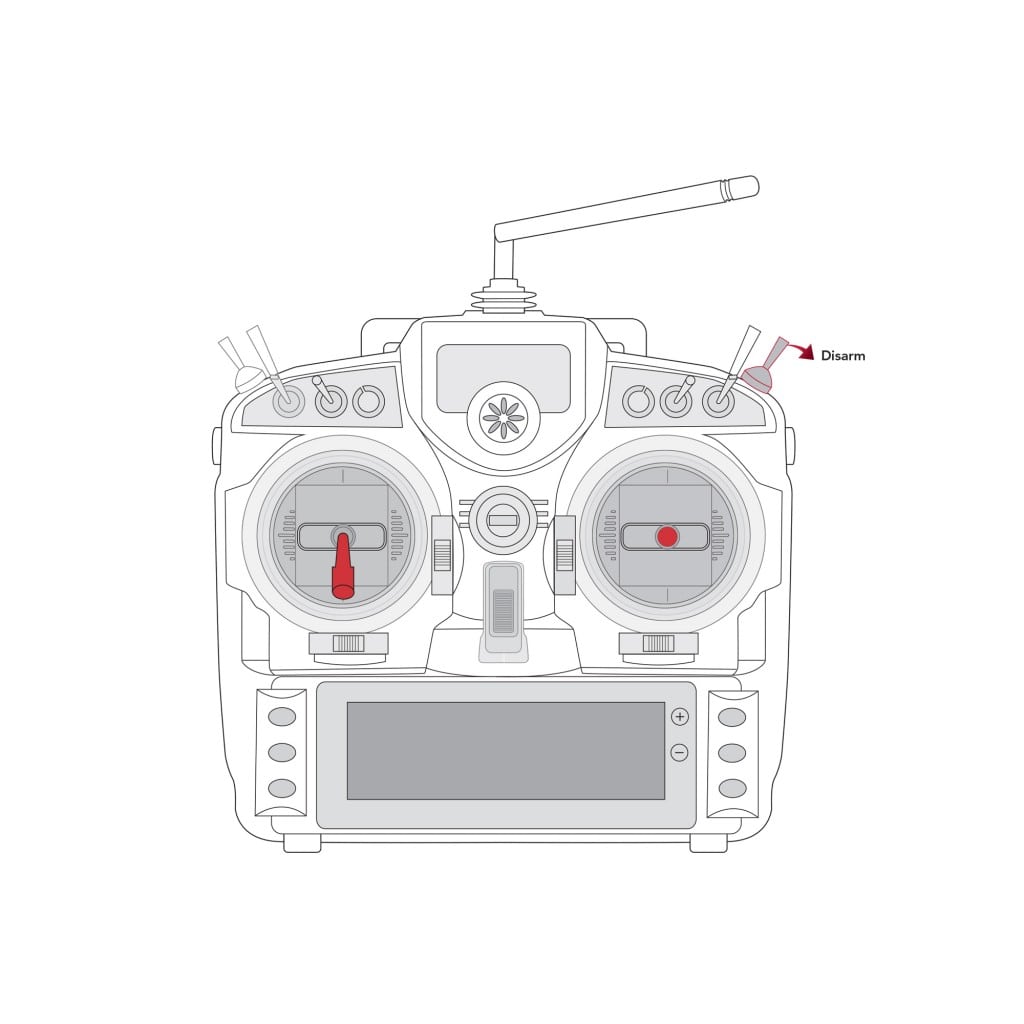
To establish the connection between the drone and the radio, follow the Taranis binding procedure:
- Start with RubiQ disconnected from the battery and from the computer.
- Turn on your Taranis X9D radio controller with the On/Off switch located in the middle of the controller.
- Press the MENU button on the left side of the Taranis video screen to open the MODEL SELECTION screen.
- Use the + and — buttons on the right side of the screen to highlight RubiQ as a model.
- Press and hold ENT. A submenu will appear. Highlight the option SELECT MODEL and press ENT to select RubiQ.
If RubiQ isn’t available, the radio needs to be configured. Visit rubiq.edventures.com/downloads/ to flash a RubiQ Radio Configuration file directly to the Taranis or consult your radio’s user guide for manual model setup instructions.
- Hit the PAGE button to open the MODEL SETUP screen. With the + button, navigate to the RECEIVER field located beneath Internal RF.
- Select the BIND option. To enter bind mode, press the ENT button.
- When the BIND field flashes and the Taranis chirps, the radio is in bind mode.
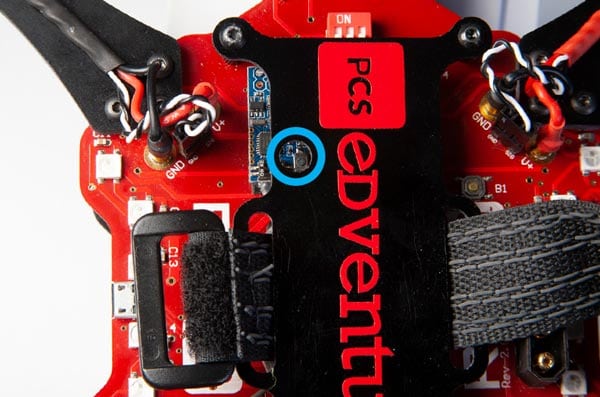
- While the Taranis is chirping, gently press and hold the small button on RubiQ’s receiver, which can be found below the battery plate on the top of the PCB. It requires very little force to press and hold the binding button. Excessive force could break the button.

- Then, while still holding the button down, connect the LiPo battery. (This maneuver may be easier with a friend and a tool.) The chirping should continue. Make sure the cable connecting RubiQ to the computer is unplugged, so the RX isn’t receiving power from the computer before the battery is plugged in.
- Wait to release the button until the lights come on and the beeps from the drone stop
- Unplug the battery from RubiQ.
- Press ENT to complete the binding.
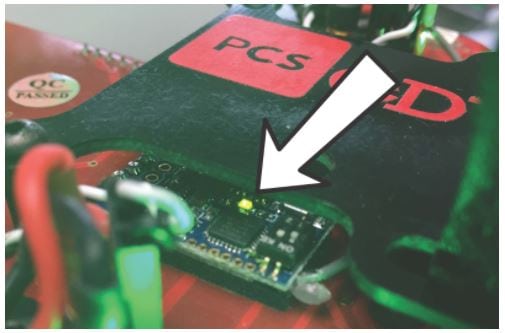
To see if your bind was successful, power up your Taranis and connect the battery to RubiQ. If the two are bound, the small LED on top of the receiver will be a solid color. If the LED is blinking, the bind was not successful.
Note: be sure to bind one drone at a time to avoid cross-pairing to the incorrect radio controller.
RubiQ comes with a PPM receiver, which means it’s compatible with FrSky Taranis radios. FrSky manufactures several different radios, which each have their own binding process. These directions are for binding RubiQ to the Q X7 radio controller. If you have a different model, check out the tabs above for instructions specific to the other radio controllers.
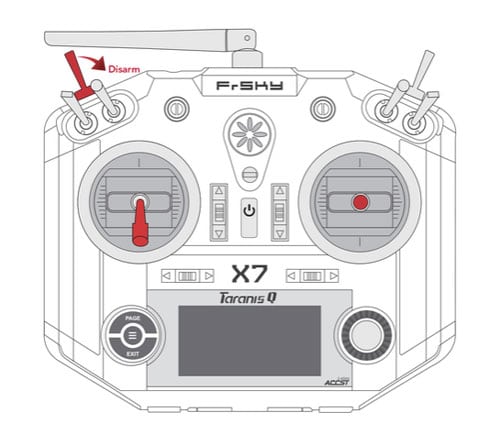
To establish the connection between the drone and the radio, follow the Taranis binding procedure:
- Start with RubiQ disconnected from the battery and the computer.
- Turn on your Taranis Q X7 radio controller with the On/Off button located in the middle of the controller and make sure RubiQ is the model displayed on the video screen.
- The circle with the three stacked lines on the left side of the Taranis video screen is the MENU button. Press this button to open the MODEL SELECTION screen.
- This screen displays all the models that have been set up on the radio controller. The asterisk shows which model is currently selected. If RubiQ isn’t already selected, use the knob on the right side of the screen to highlight RubiQ as a model.
- Press the knob, and a submenu will appear. Highlight the option SELECT MODEL and press the knob again to select RubiQ.
- With RubiQ selected as the model, hit the PAGE button to open the SETUP screen. With the knob, navigate to the RECEIVER field located beneath Internal RF.
- Select the BND (bind) option. To enter bind mode, press the knob.
- When the BND field flashes and the Taranis chirps, the radio is in bind mode.
- While the Taranis is chirping, gently press and hold the small button on RubiQ’s receiver, which can be found below the battery plate on the top of the PCB. It requires very little force to press and hold the binding button. Excessive force could break the button.

- Then, while still holding the button down, connect the LiPo battery. (This maneuver may be easier with a friend and a tool.) The chirping should continue. Make sure the cable connecting RubiQ to the computer is unplugged, so the RX isn’t receiving power from the computer before the battery is plugged in.
- Wait to release the button until the lights come on and the beeps from the drone stop.
- Unplug the battery from RubiQ.
- Press the knob on the radio to complete the binding.
To see if your bind was successful, power up your Taranis and connect the battery to RubiQ. If the two are bound, the small LED on top of the receiver will be a solid color, usually green or blue. If the LED is blinking, the bind was not successful.

To see if your bind was successful, power up your Taranis and connect the battery to RubiQ. If the two are bound, the small LED on top of the receiver will be a solid color. If the LED is blinking, the bind was not successful.

