Step 3b. Verify Failsafe
What You Need:
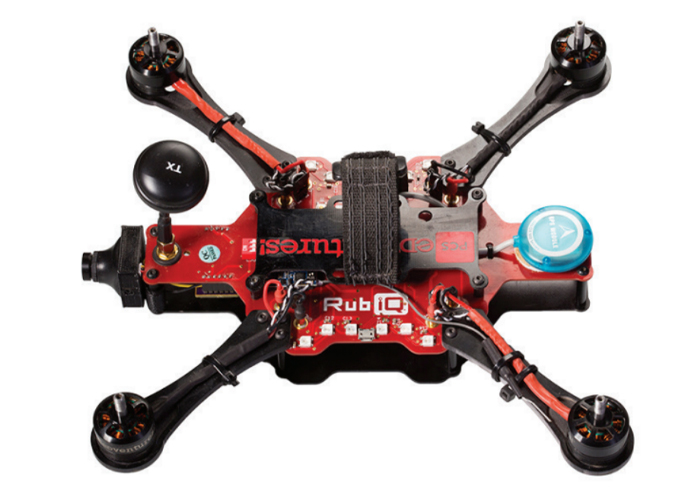
RubiQ 1.0 or 1.5
Antenna
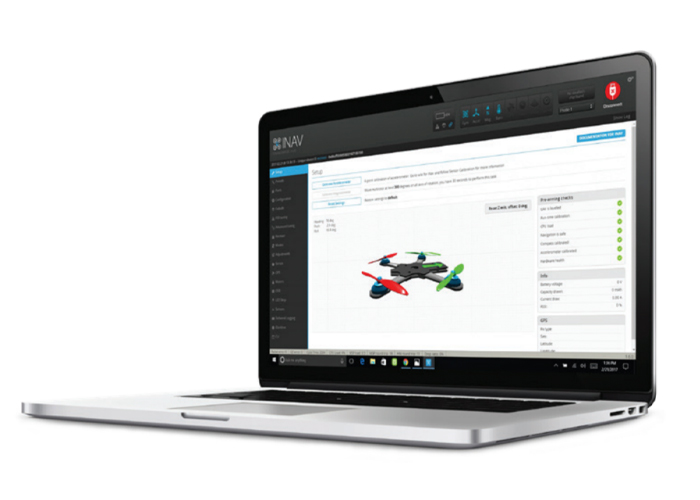
INAV 1.6.2
Micro USB
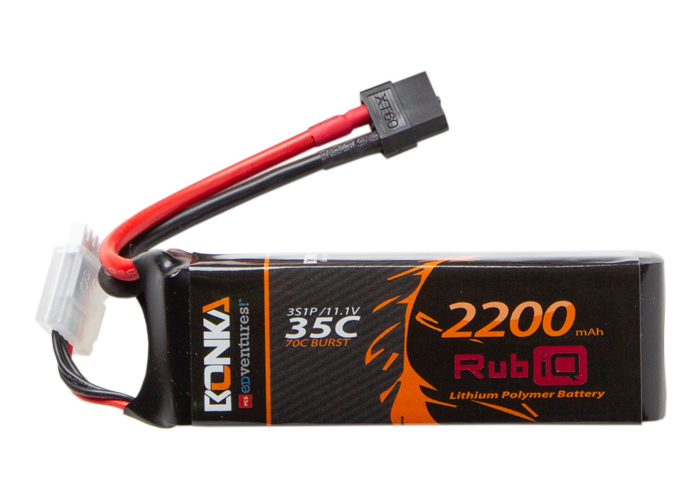
LiPo Battery
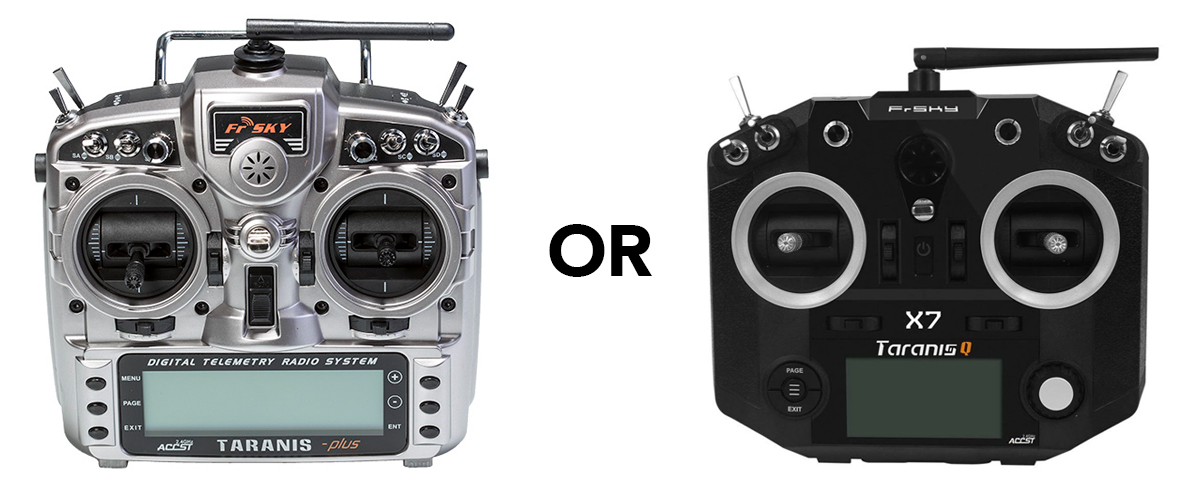
Taranis X9D or Taranis QX7
Steps:
The failsafe is the set of commands that RubiQ will follow if she ever loses connection to the radio, either because she’s flown out of radio range or because the radio loses power and shuts down. By default, RubiQ’s failsafe is set to drop out of the sky, so make sure you never fly over people, buildings or property that could be damaged.
To check the failsafe, go to the Receiver tab in INAV. To simulate the stick and switch positions that are active during flight, move the throttle up to around halfway and move the SG switch towards you to the “armed” position.
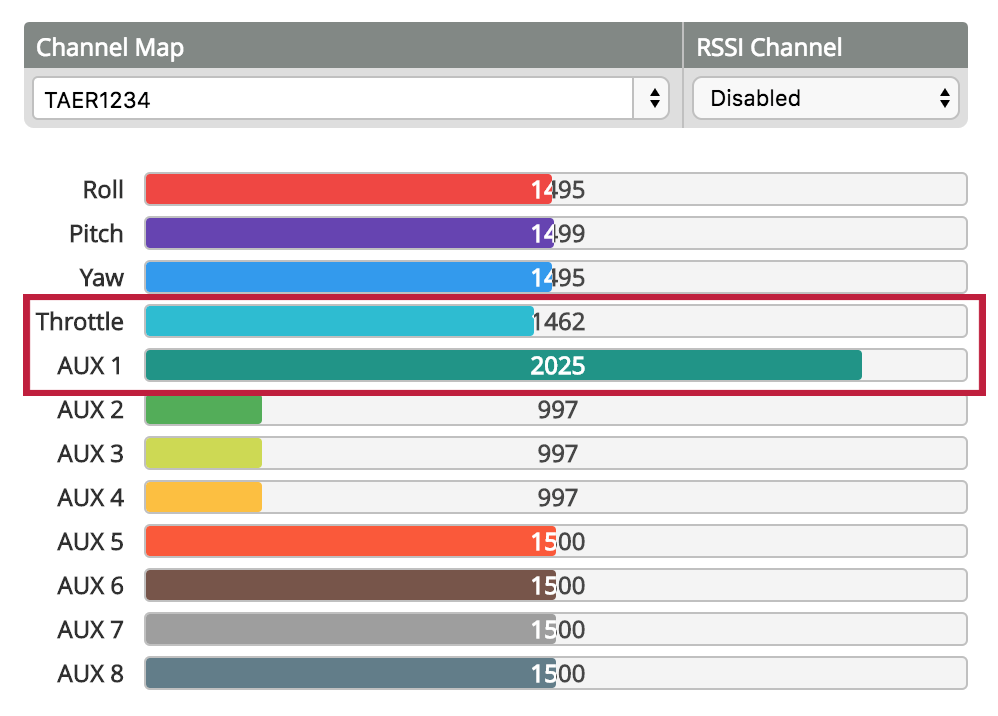
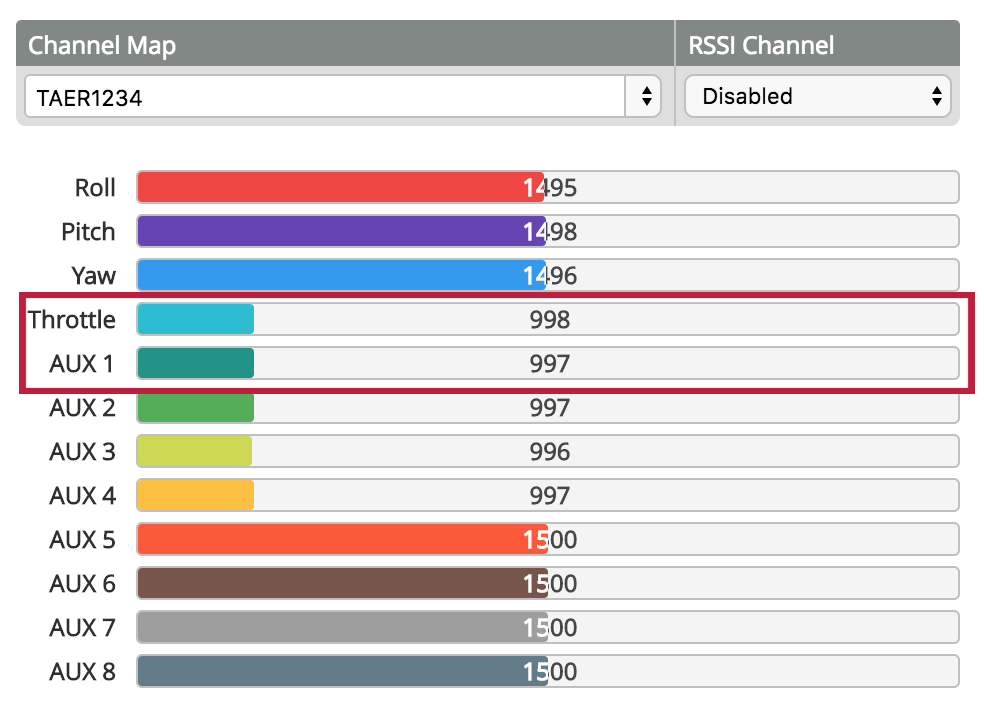
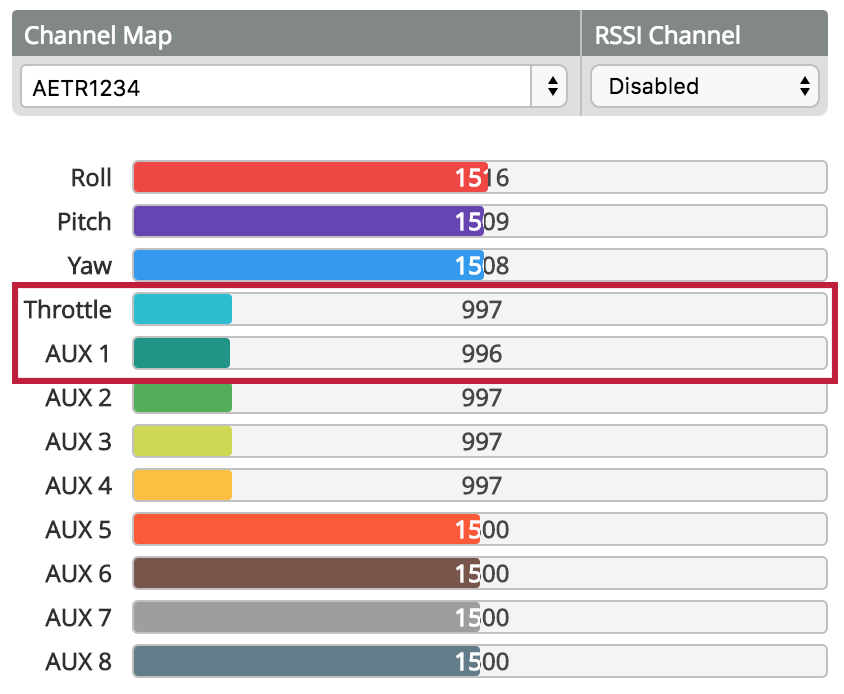
Then, power down the radio controller to simulate losing connection. Both the throttle and AUX 1 bars should drop, meaning the controls have switched to throttle down and motors disarmed.
Troubleshooting:
If RubiQ does not respond as expected, reset the failsafe by rebinding the drone to the radio controller following a modified version of the bind procedure:
- Start with RubiQ disconnected from the battery and from the computer.
- Turn on your Taranis X9D radio controller with the On/Off switch located in the middle of the controller.
- Make sure the throttle is down and the SG switch is set to disarm (“Engines Off”). These stick and switch positions will become the new failsafe.
- Press the MENU button on the left side of the Taranis video screen to open the MODEL SELECTION screen and make sure RubiQ is selected as the current model.
- Hit the PAGE button to open the MODEL SETUP screen. With the + button, navigate to the RECEIVER field located beneath Internal RF.
- Select the Bind option. To enter bind mode, press the ENT button.
- When the Bind field flashes and the Taranis chirps, the radio is in bind mode.
- While the Taranis is chirping, press and hold the small button on RubiQ’s RX, which can be found directly below the hole in Rubi’s battery plate.
- Then, while still holding the button down, connect the LiPo battery. (This maneuver may be easier with a friend and a tool.) The chirping from the radio should continue.
- Release the RX button after the light on the RX turns off.
- Leaving the battery plugged in to RubiQ, press ENT to complete the binding.
- The light on the RX should start blinking, which indicates that the failsafe has reset to the current stick and switch positions on the radio controller.
- Disconnect the battery to allow the drone to power cycle.
- Plug in the battery again, connect the USB cable and reconnect to INAV.
- Go to the Receiver tab and repeat this step to retest the failsafe.
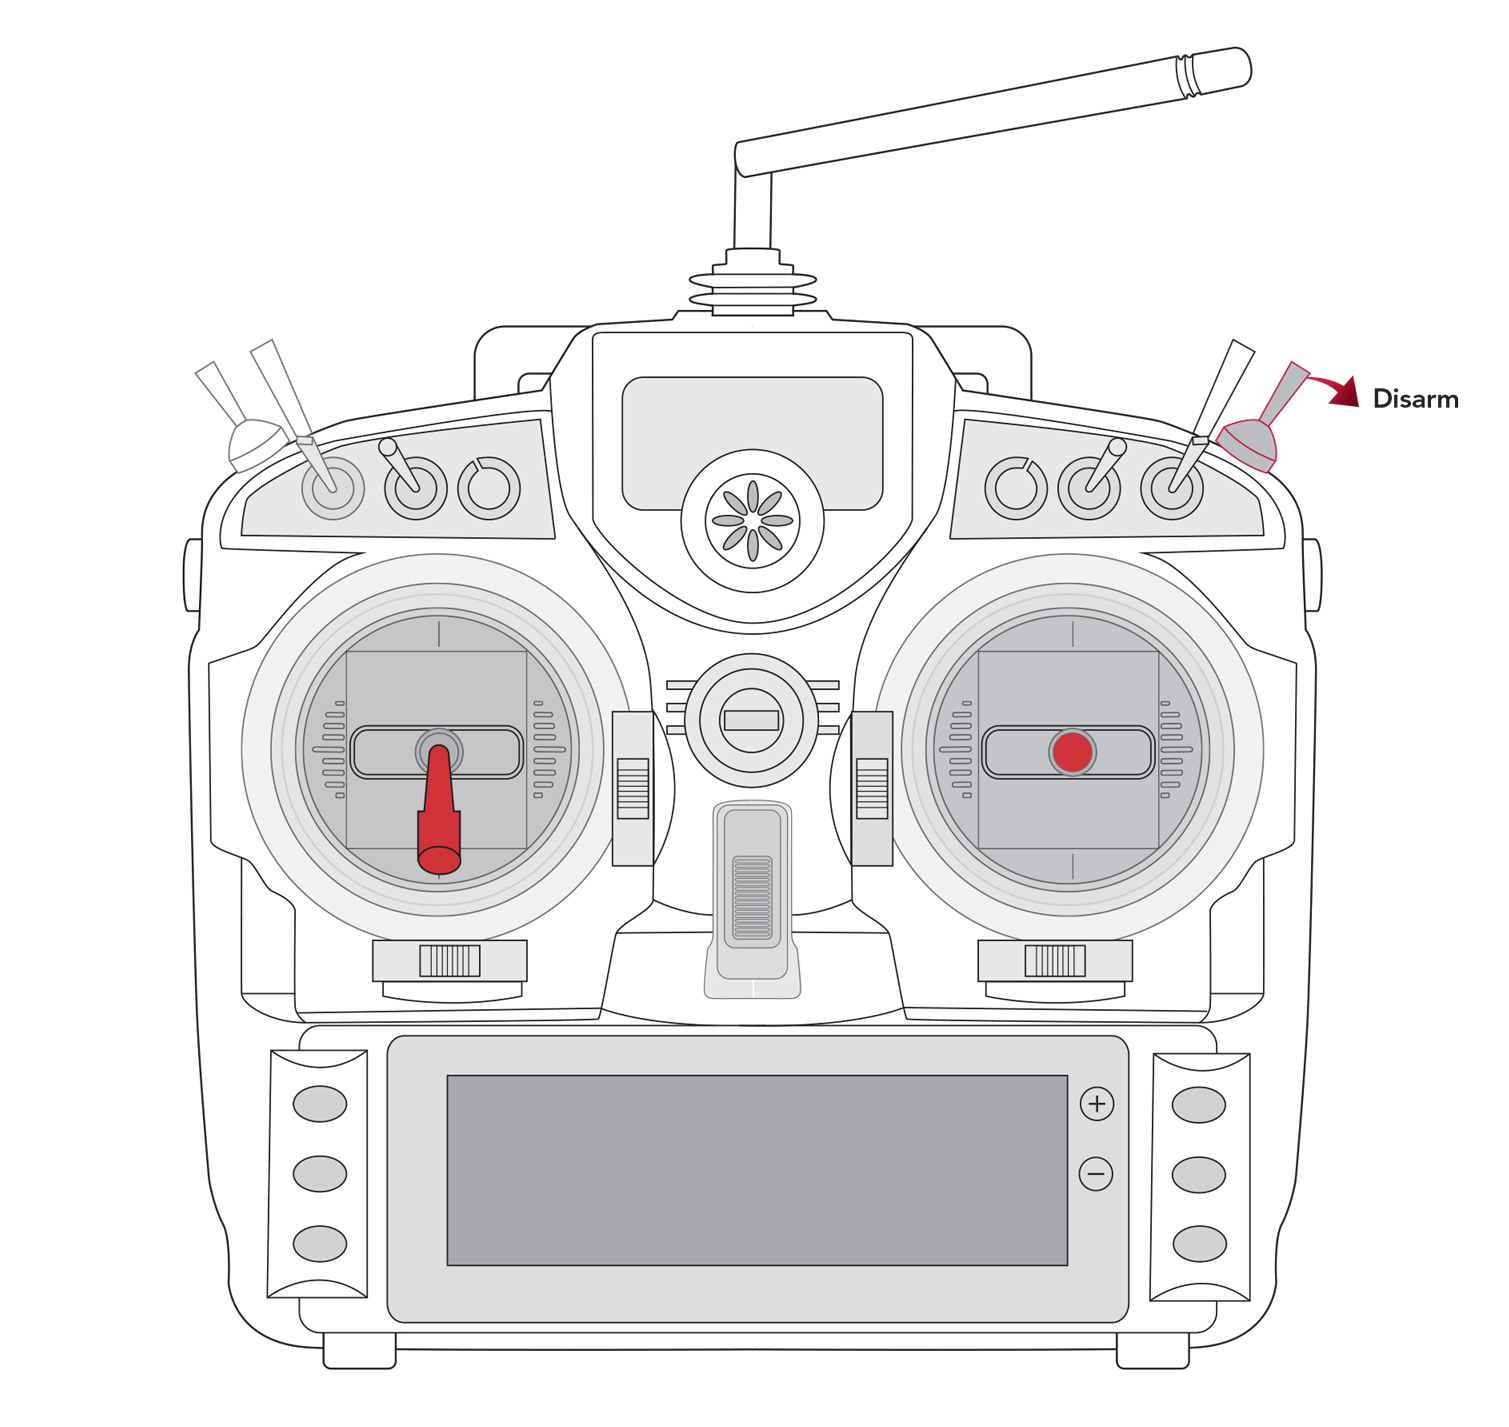
Failsafe: Throttle down and switch back to disarm
The failsafe is the set of commands that RubiQ will follow if she ever loses connection to the radio, either because she’s flown out of radio range or because the radio loses power and shuts down. By default, RubiQ’s failsafe is set to drop out of the sky, so make sure you never fly over people, buildings or property that could be damaged.
To check the failsafe, go to the Receiver tab in INAV. To simulate the stick and switch positions that are active during flight, move the throttle up to around halfway and move the SG switch towards you to the “armed” position.

Then, power down the radio controller to simulate losing connection. Both the throttle and AUX 1 bars should drop, meaning the controls have switched to throttle down and motors disarmed.
Troubleshooting:
If RubiQ does not respond as expected, reset the failsafe by rebinding the drone to the radio controller following a modified version of the bind procedure:
- Start with RubiQ disconnected from the battery and from the computer.
- Turn on your Taranis Q X7 radio controller with the On/Off button located in the middle of the controller.
- Make sure the throttle is down and the SF switch is set to disarm (“Engines Off”). These stick and switch positions will become the new failsafe.
- Press the MENU button on the left side of the Taranis video screen to open the MODEL SELECTION screen and make sure RubiQ is selected as the current model.
- Hit the PAGE button to open the MODEL SETUP screen. With the scroll wheel, navigate to the RECEIVER field located beneath Internal RF.
- Select the Bnd (Bind) option. To enter bind mode, press the wheel.
- When the Bind field flashes and the Taranis chirps, the radio is in bind mode.
- While the Taranis is chirping, press and hold the small button on RubiQ’s RX, which can be found directly below the hole in Rubi’s battery plate.
- Then, while still holding the button down, connect the LiPo battery. (This maneuver may be easier with a friend and a tool.) The chirping from the radio should continue.
- Release the RX button after the light on the RX turns off.
- Leaving the battery plugged in to RubiQ, press ENT to complete the binding.
- The light on the RX should start blinking, which indicates that the failsafe has reset to the current stick and switch positions on the radio controller.
- Disconnect the battery to allow the drone to power cycle.
- Plug in the battery again, connect the USB cable and reconnect to INAV.
- Go to the Receiver tab and repeat this step to retest the failsafe.
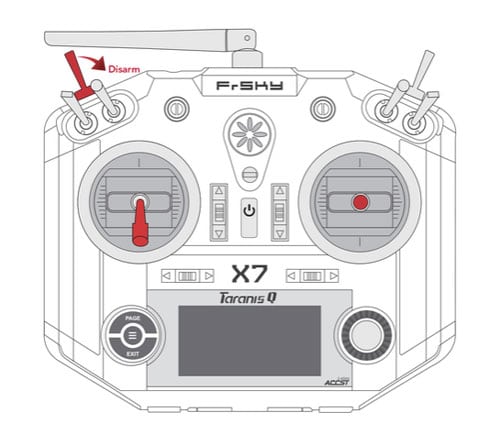
switch back to disarm