Step 4. Configure Switches
What You Need:
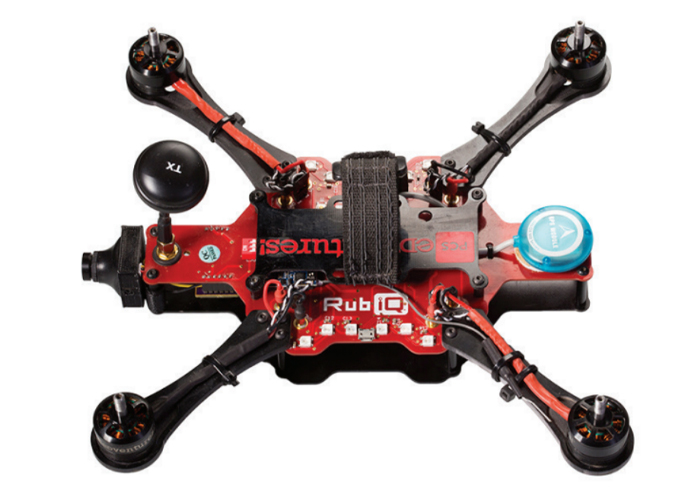
RubiQ 1.0 or 1.5
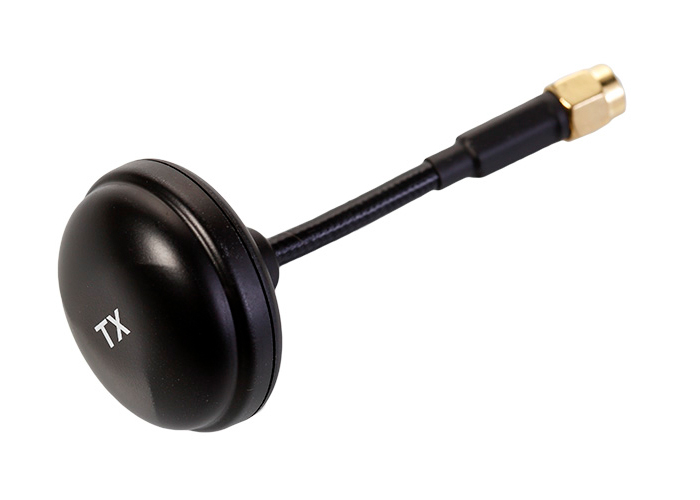
Antenna
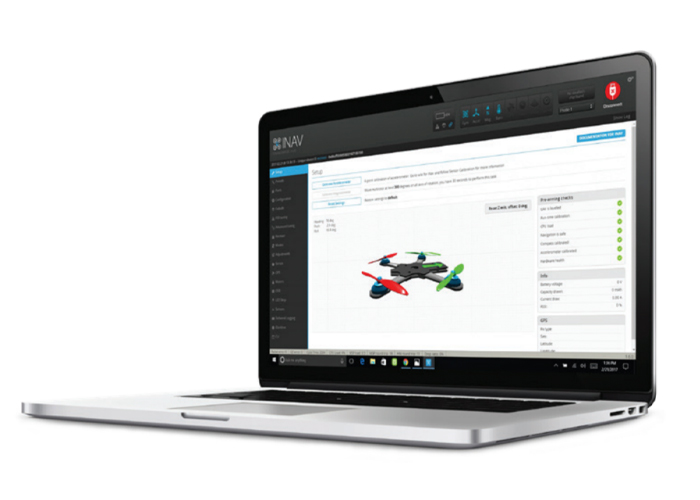
INAV 1.6.2
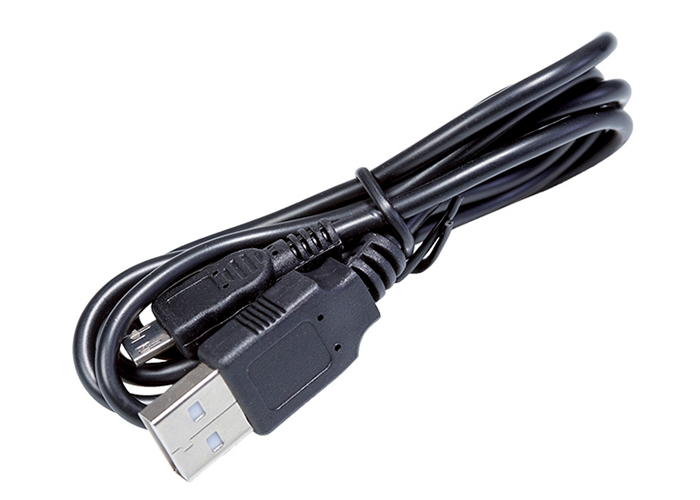
Micro USB
LiPo Battery
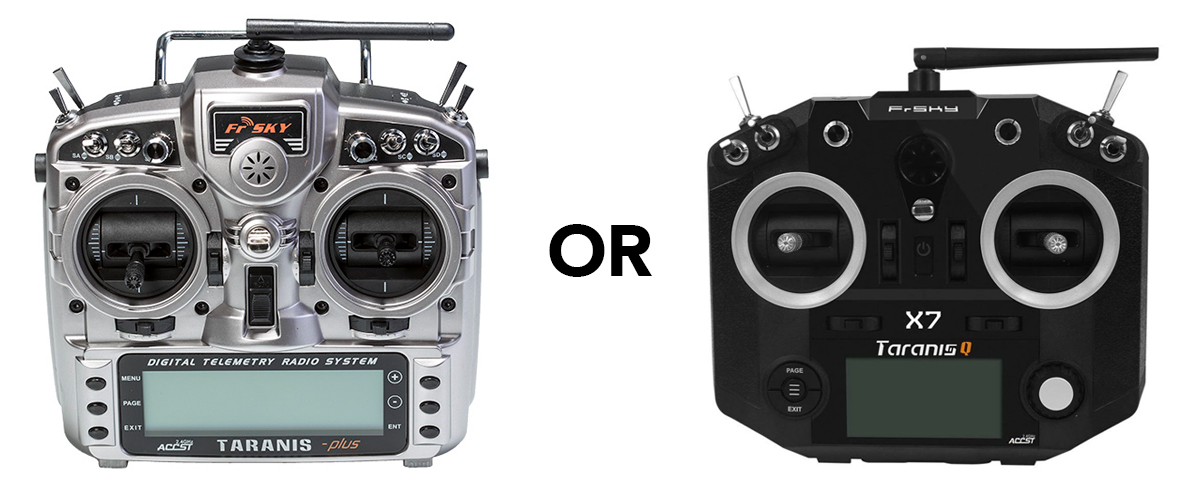
Taranis X9D or Taranis QX7
Steps:
WARNING! Remove props and attach the antenna before configuring aux switches.
To set the function controlled by each switch, some additional code needs to be added to the CLI in INAV. This code also resets the warning battery voltage to 3.5V to account for the dip that can occur when the drone draws heavily on the battery during flight.
- Copy the following text:
aux 0 0 0 1700 2100
aux 1 1 1 1300 2100
aux 2 3 1 1700 2100
aux 3 9 2 1300 1700
aux 4 8 2 1700 2100
aux 5 11 3 1700 2100
aux 6 0 0 900 900
aux 7 0 0 900 900
aux 8 0 0 900 900
aux 9 0 0 900 900
aux 10 0 0 900 900
aux 11 0 0 900 900
aux 12 0 0 900 900
aux 13 0 0 900 900
aux 14 0 0 900 900
aux 15 0 0 900 900
aux 16 0 0 900 900
aux 17 0 0 900 900
aux 18 0 0 900 900
aux 19 0 0 900 900
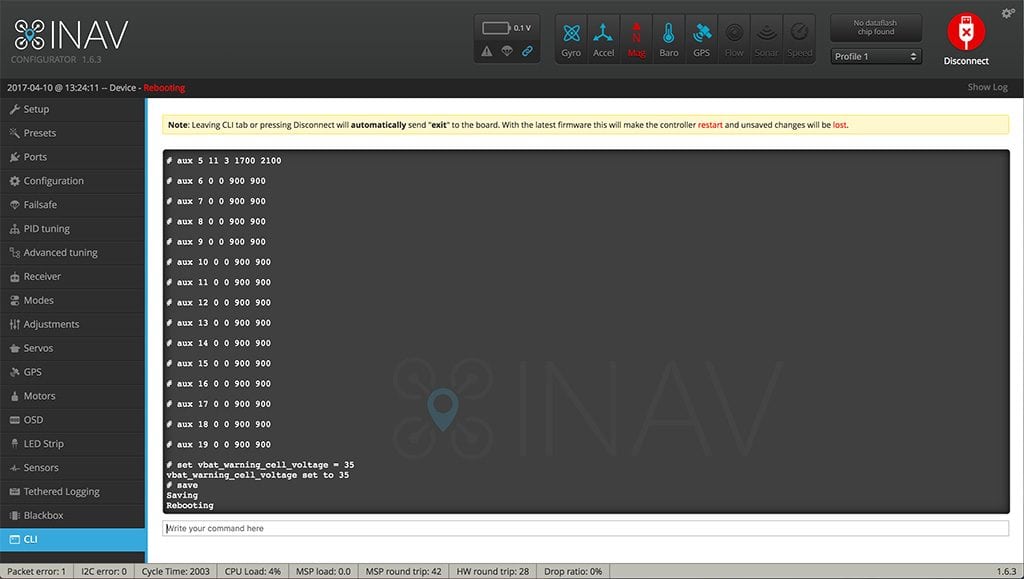
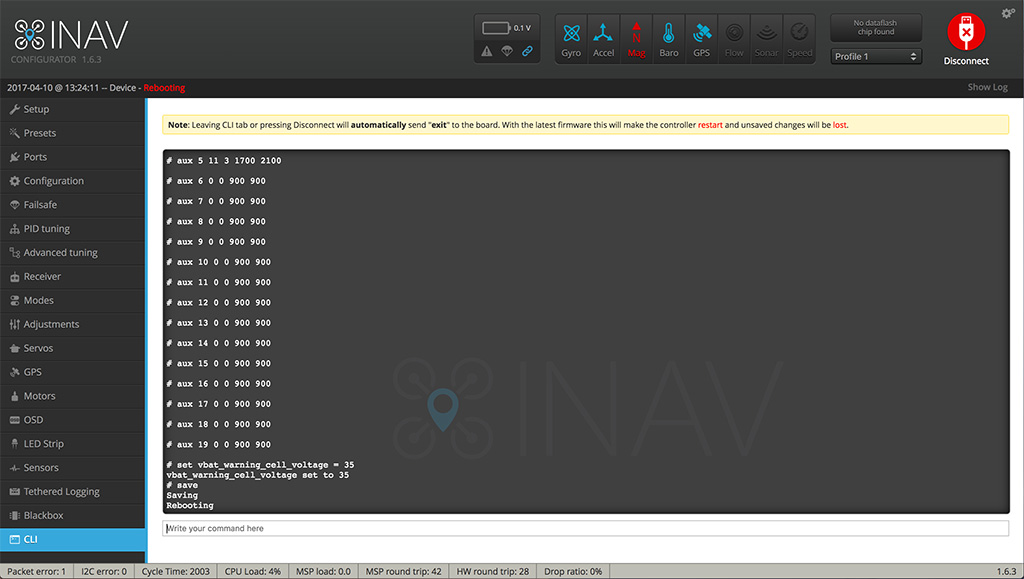
set vbat_warning_cell_voltage = 35
- Open the CLI tab in INAV.
Note: be sure the SF switch is flipped away from you. The code you’re about to enter sets the SF switch to control RubiQ’s Beeper.
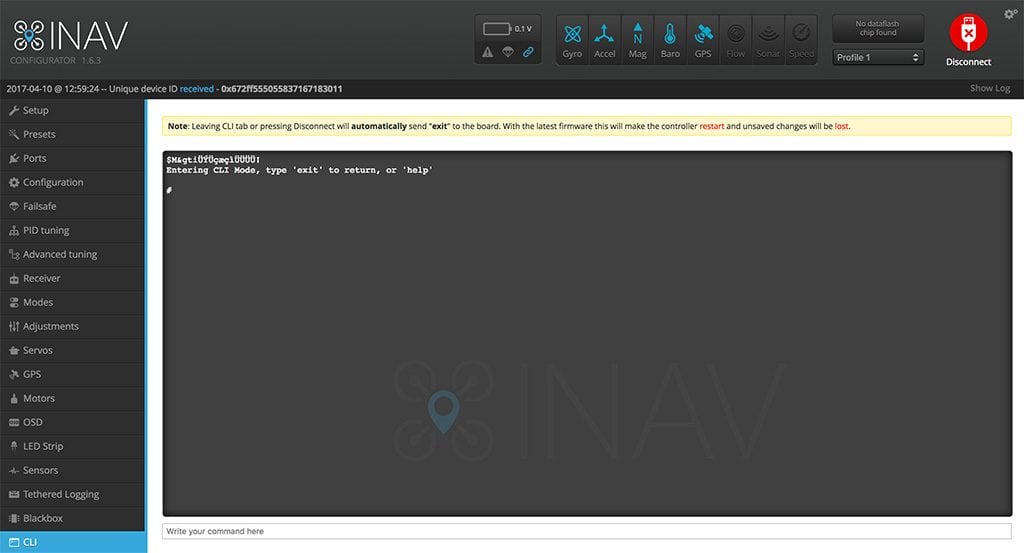
- Paste the copied code in the text box towards the bottom of the page, then press ENTER.
- Type the word save and press ENTER again.
- The system will automatically reboot.
Open the Modes tab in INAV.
- To test the new settings you just programmed, you’ll need to have the battery attached.
- Scroll down in the Modes tab to see all the settings now programmed to the flight controller.

Arm State (whether or not the motors can be powered) should be set to AUX 1, which is mapped to the SG switch on the Taranis.
- Move the switch all the way towards you to arm the drone. You’ll hear, “Engine On.”
- The blue ticker below the ARM bar should move into the blue range.
- Because GPS-lock is enabled, the box labeled ARM at the beginning of the bar will not turn blue. That color change indicates that the drone has successfully armed. It will not turn blue until a GPS lock has been established. RubiQ cannot fly without GPS lock.

The second bar controls Flight Modes and should be set to AUX 2, which is mapped to the SE switch on the Taranis.
- Move the switch all the way away from you for Acro/Rate Mode (the blue ticker should be below the gray section of the bar) and to the middle for Angle Mode (this should move the ticker into the blue).
- The box at the beginning of the bar turns blue when Angle Mode is successfully activated.

Scroll down to the NAV ALTHOLD bar, which is also mapped to AUX 2. Move the SE switch all the way forward to trigger Altitude Hold.
- Without GPS-lock, the NAV ALTHOLD box will not turn blue.

GPS Safety Features should be set to AUX 3.
- Move the SA switch to the middle for Position Hold and all the way forward for Return to Home/Launch.
- These boxes will also not turn blue until a GPS-lock has been established.


The Beeper should be set to AUX 4, which is set to the SF switch on the Taranis.
- Flip the switch forward to trigger the Beeper, which will also blue-out the box at the beginning of the bar.
- Move the SF switch back to stop the beeping.

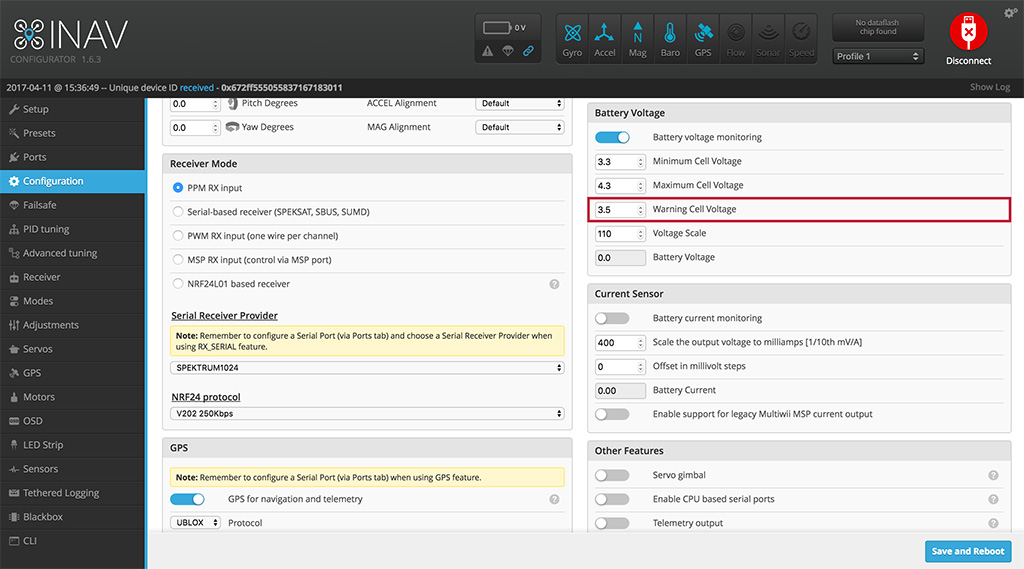
To check the warning voltage update, open the Configuration tab in INAV and scroll down to the Battery Voltage section. The Warning Cell Voltage should be set to 3.5 to maximize flight time without compromising long-term battery life.
To set the function controlled by each switch, some additional code needs to be added to the CLI in INAV. This code also resets the warning battery voltage to 3.5V to account for the dip that can occur when the drone draws heavily on the battery during flight.
- Copy the following text:
aux 0 0 0 1700 2100
aux 1 1 1 1300 2100
aux 2 3 1 1700 2100
aux 3 9 2 1300 1700
aux 4 8 2 1700 2100
aux 5 11 3 1700 2100
aux 6 0 0 900 900
aux 7 0 0 900 900
aux 8 0 0 900 900
aux 9 0 0 900 900
aux 10 0 0 900 900
aux 11 0 0 900 900
aux 12 0 0 900 900
aux 13 0 0 900 900
aux 14 0 0 900 900
aux 15 0 0 900 900
aux 16 0 0 900 900
aux 17 0 0 900 900
aux 18 0 0 900 900
aux 19 0 0 900 900
set vbat_warning_cell_voltage = 35
- Open the CLI tab in INAV.
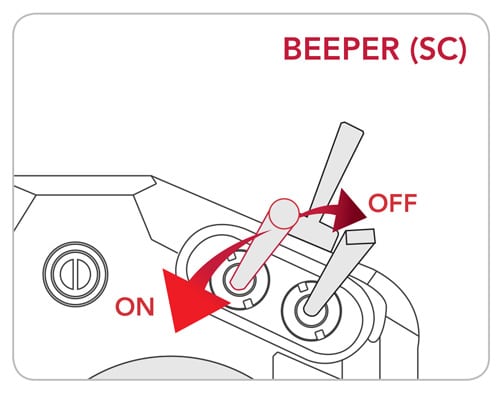
Note: be sure the SC switch is flipped away from you. The code you’re about to enter sets the SC switch to control RubiQ’s Beeper.

- Paste the copied code in the text box towards the bottom of the page, then press ENTER.
- Type the word save and press ENTER again.
- The system will automatically reboot.
Open the Modes tab in INAV.
- To test the new settings you just programmed, you’ll need to have the battery attached.
- Scroll down in the Modes tab to see all the settings now programmed to the flight controller.
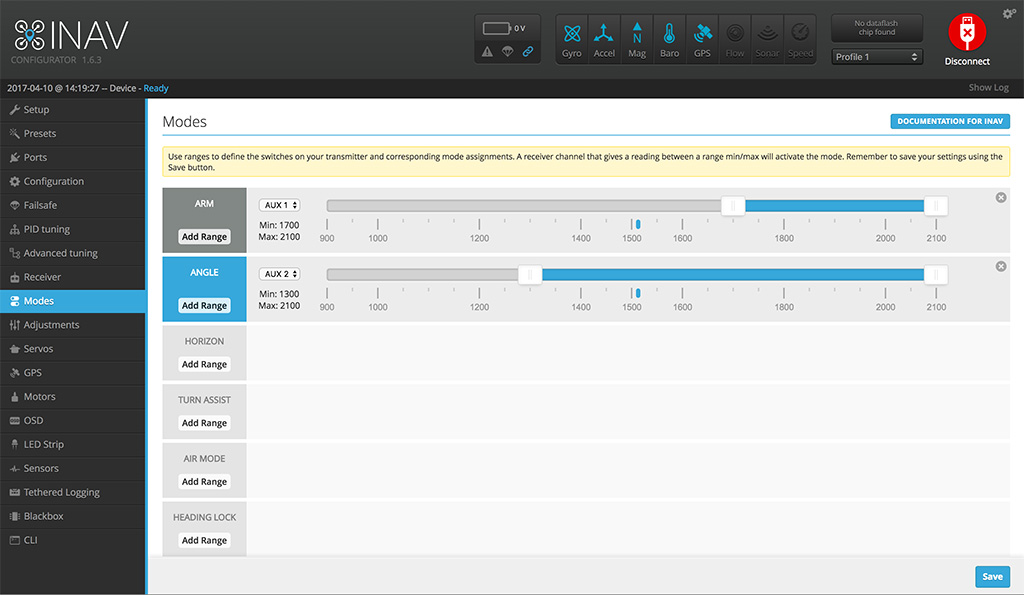
Arm State (whether or not the motors can be powered) should be set to AUX 1, which is mapped to the SF switch on the Taranis.
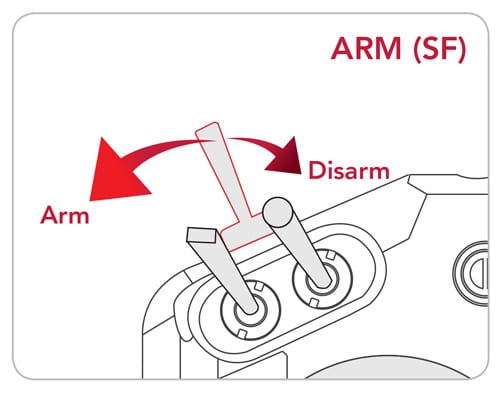
- Move the switch all the way towards you to arm the drone. You’ll hear, “Engine On.”
- The blue ticker below the ARM bar should move into the blue range.
- Because GPS-lock is enabled, the box labeled ARM at the beginning of the bar will not turn blue. That color change indicates that the drone has successfully armed. It will not turn blue until a GPS lock has been established. RubiQ cannot fly without GPS lock.

The second bar controls Flight Modes and should be set to AUX 2, which is mapped to the SA switch on the Taranis.

- Move the switch all the way away from you for Acro/Rate Mode (the blue ticker should be below the gray section of the bar) and to the middle for Angle Mode (this should move the ticker into the blue).
- The box at the beginning of the bar turns blue when Angle Mode or Altitude Hold are successfully activated.
Scroll down to the NAV ALTHOLD bar, which is also mapped to AUX 2. Move the SA switch all the way forward to trigger Altitude Hold.
- Without GPS-lock, the NAV ALTHOLD box will not turn blue.
GPS Safety Features should be set to AUX 3.
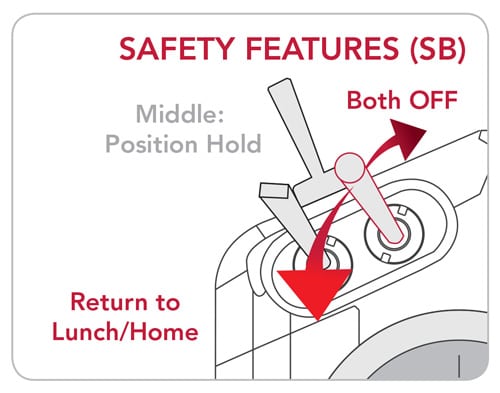
- Move the SB switch to the middle for Position Hold and all the way towards you for Return to Home/Launch.
- These boxes will also not turn blue until a GPS-lock has been established.
The Beeper should be set to AUX 4, which is set to the SC switch on the Taranis.
- Flip the switch towards you to trigger the Beeper, which will also blue-out the box at the beginning of the bar.
- Move the SC switch back to stop the beeping.
To check the warning voltage update, open the Configuration tab in INAV and scroll down to the Battery Voltage section. The Warning Cell Voltage should be set to 3.5 to maximize flight time without compromising long-term battery life.