Step 7. Calibrate ESC’s
What You Need:
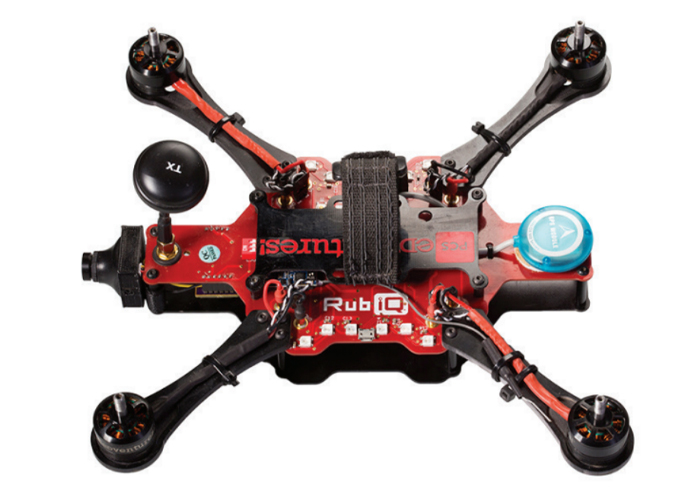
RubiQ 1.0 or 1.5
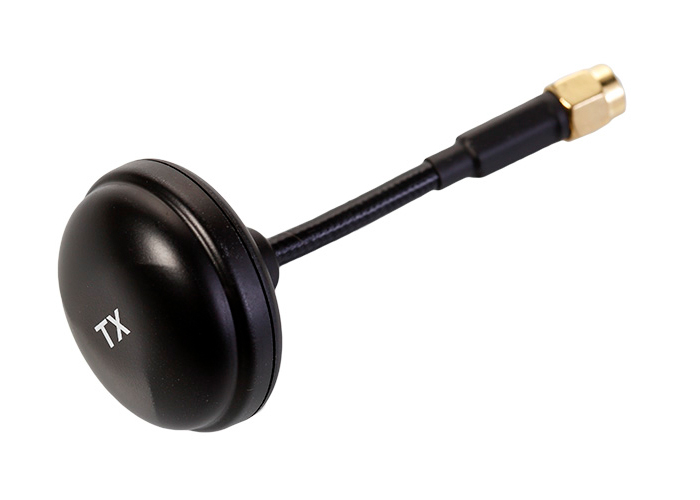
Antenna
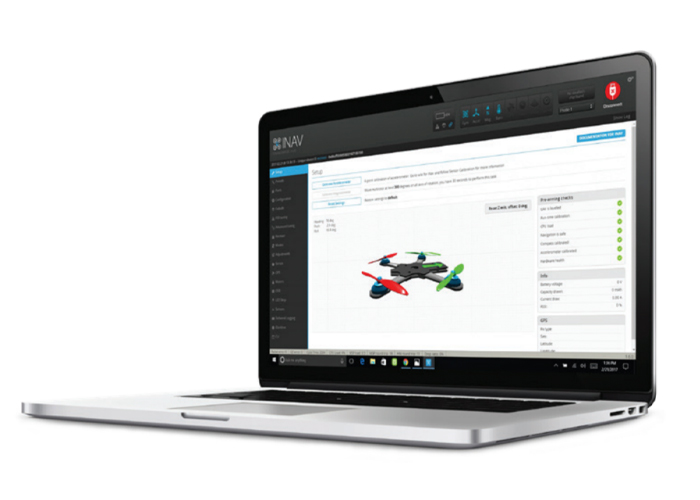
INAV 1.6.2
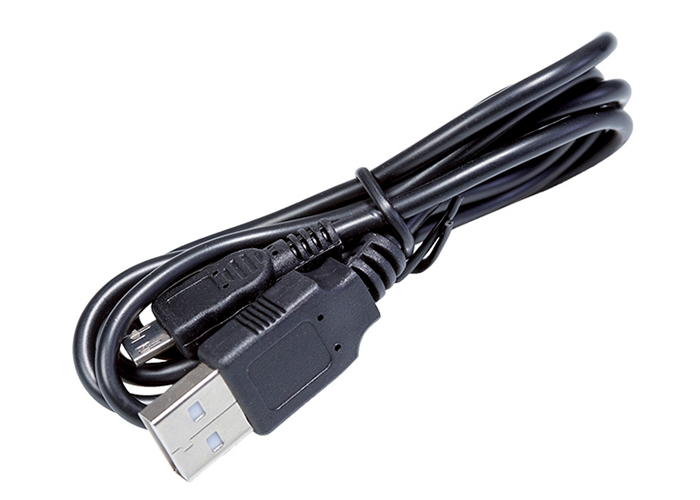
Micro USB
LiPo Battery
Steps:
WARNING! Remove props and attach the antenna before calibrating the ESC’s.
Connect RubiQ to INAV without a battery (or disconnect the battery if continuing from Step 6) and open the Motors tab.
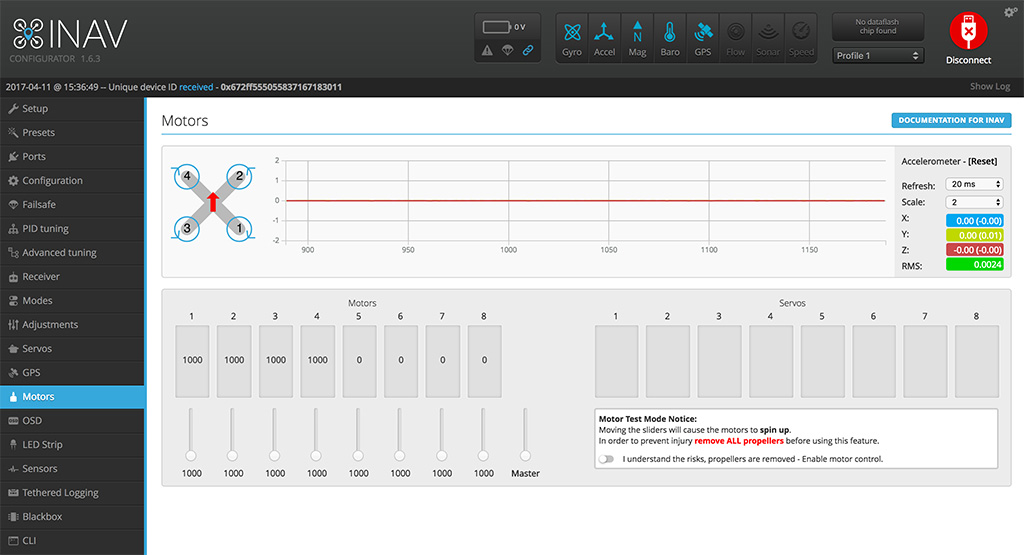
Calibrating the ESC’s sets the maximum and minimum throttle values:
- Read the Motor Test Mode Notice and toggle to verify that the propellers are removed before Enabling Motor Control.
- Slide the Master Control all the way to the top.
- Plug in the battery. Don’t be afraid! Rather than actually activating the motors, this sets the maximum throttle value for the ESC’s. A happy tone will play to signal that the calibration was successful.
- Move the Master Control all the way down to the bottom. This sets the minimum throttle value and triggers a second happy tone.
- If you’ve set the maximum and minimum throttle values correctly, RubiQ will finish singing and you can unplug the LiPo battery and disconnect the USB cable.