Step 1b. Set the Failsafe
What You Need:
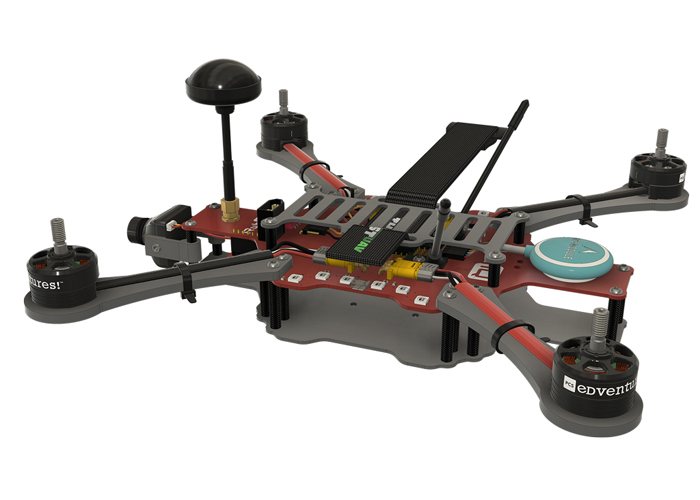
RubiQ 2.0
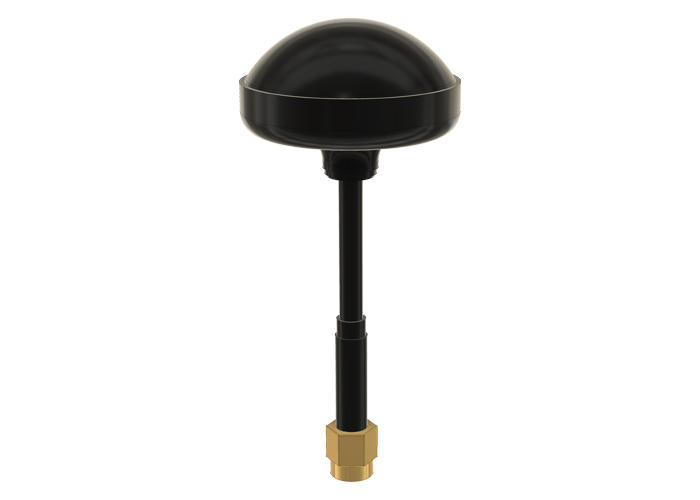
Antenna

RubiQ Configurator
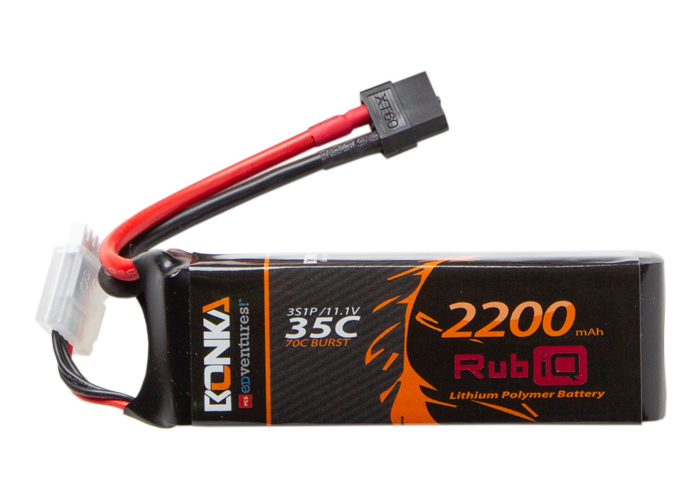
LiPo Battery
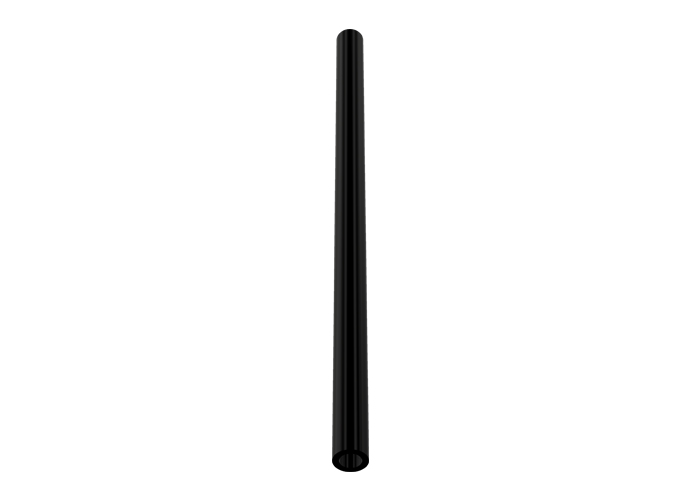
Antenna Tube
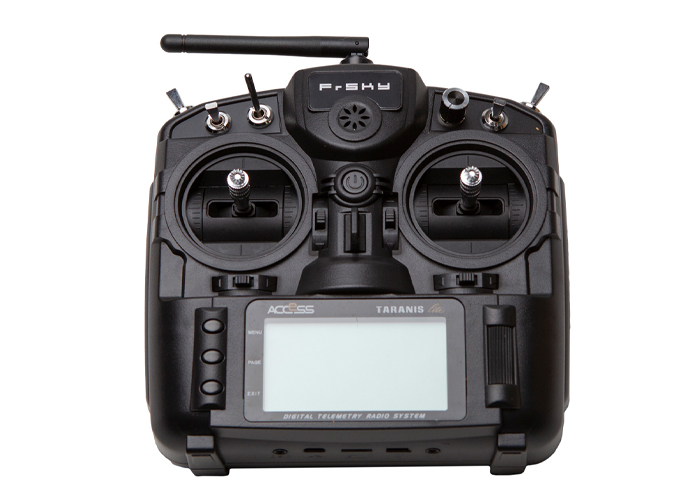
Taranis X9 Lite
Steps:
WARNING! Remove props and attach the antenna before setting the failsafe.
Part 1:
- Start with RubiQ disconnected from the battery and the computer. Remove the battery plate to gain access to the bind button on the receiver.
- Turn on your Taranis X9 Lite radio controller with the On/Off button located in the middle of the controller.
- Press the MENU button on the Taranis video screen’s left side to open the MODEL SELECTION screen. Make sure RubiQ T is selected as the current model.
- Hit the PAGE button to open the SETUP screen. With the roller, scroll upward to the Failsafe field located beneath Internal RF. Push the roller and then scroll to Receiver. Push the roller again to select it.
Part 2:
- Next, plug the battery into RubiQ. Once the drone cycles up, you will hear three beeps. Look at the LED on the receiver. It should be solid green, indicating that it is bound to the controller.
Part 3:
- Put the controller sticks in the failsafe position, with the throttle down and all switches up/away in their off positions.
- Now, tap the bind button on the receiver. The green LED will blink twice, which indicates that the failsafe has reset to the current stick positions on the radio controller.
- Disconnect the battery to allow the drone to power cycle.