Step 2a. Verify RX Channels
What You Need:
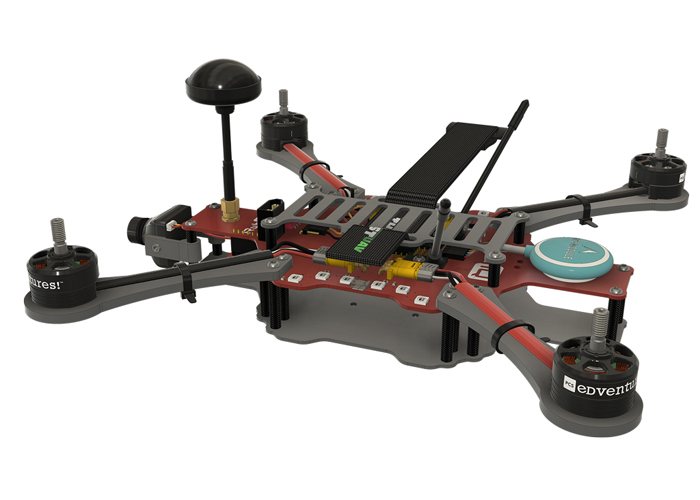
RubiQ 2.0
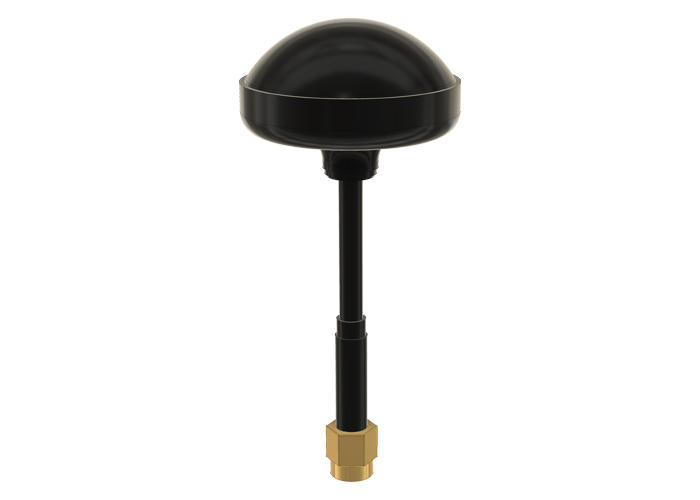
Antenna
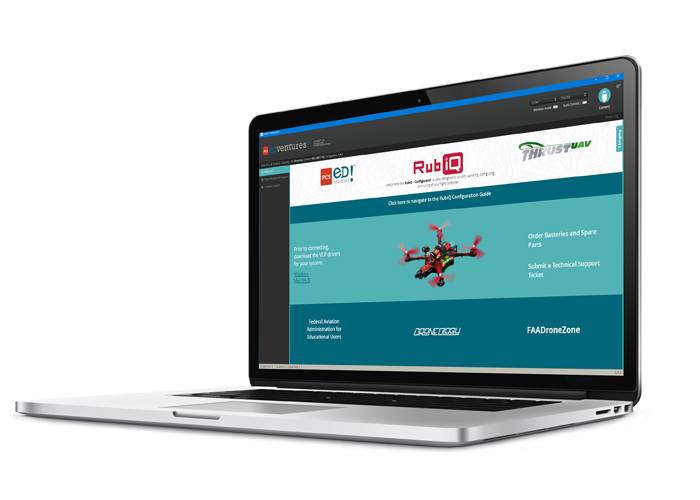
RubiQ Configurator
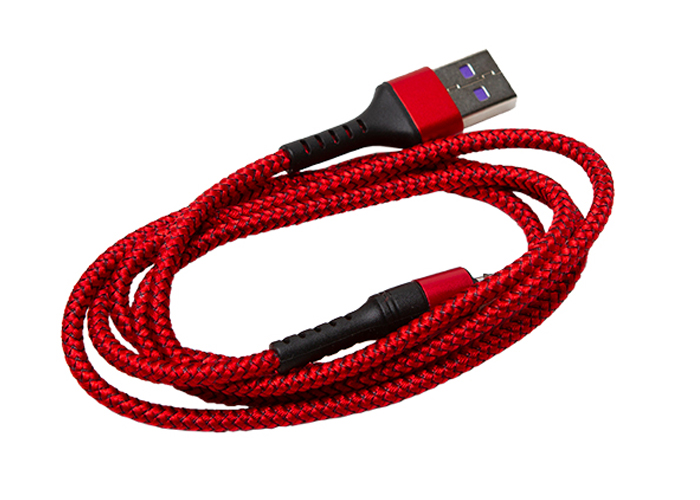
USB Cable
LiPo Battery
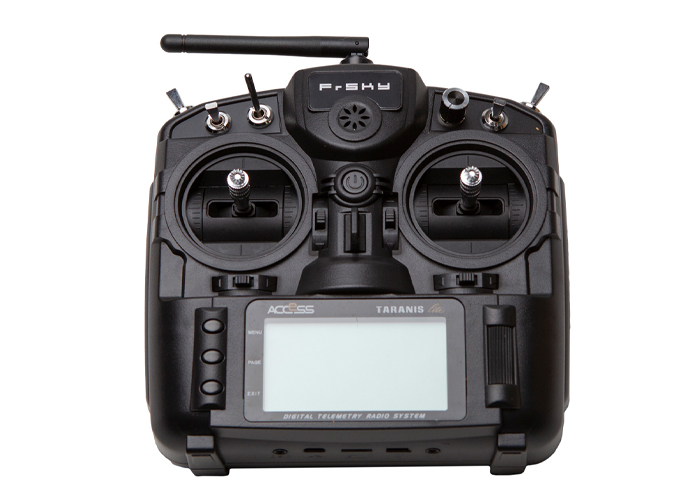
Taranis X9 Lite
Steps:
WARNING! Remove props and attach the antenna before verifying channel mapping.
To check that the bind was successful, connect the drone to the RubiQ Configurator with the USB cable and attach the LiPo battery. Press Connect, then open the Receiver tab.
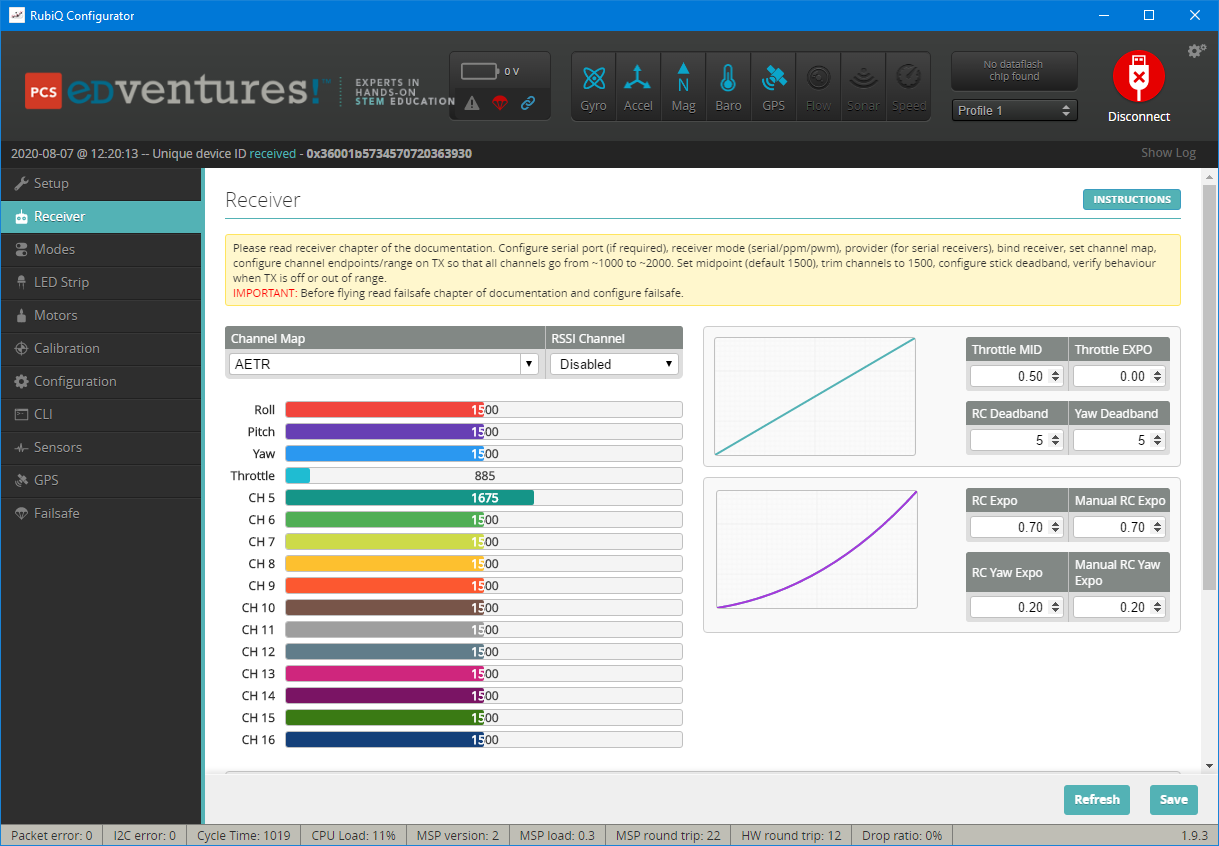
To check the channel map settings, throttle up and down, pitch forward and back, roll and yaw left and right and watch to see that the corresponding bars move on the screen.
Throttle:
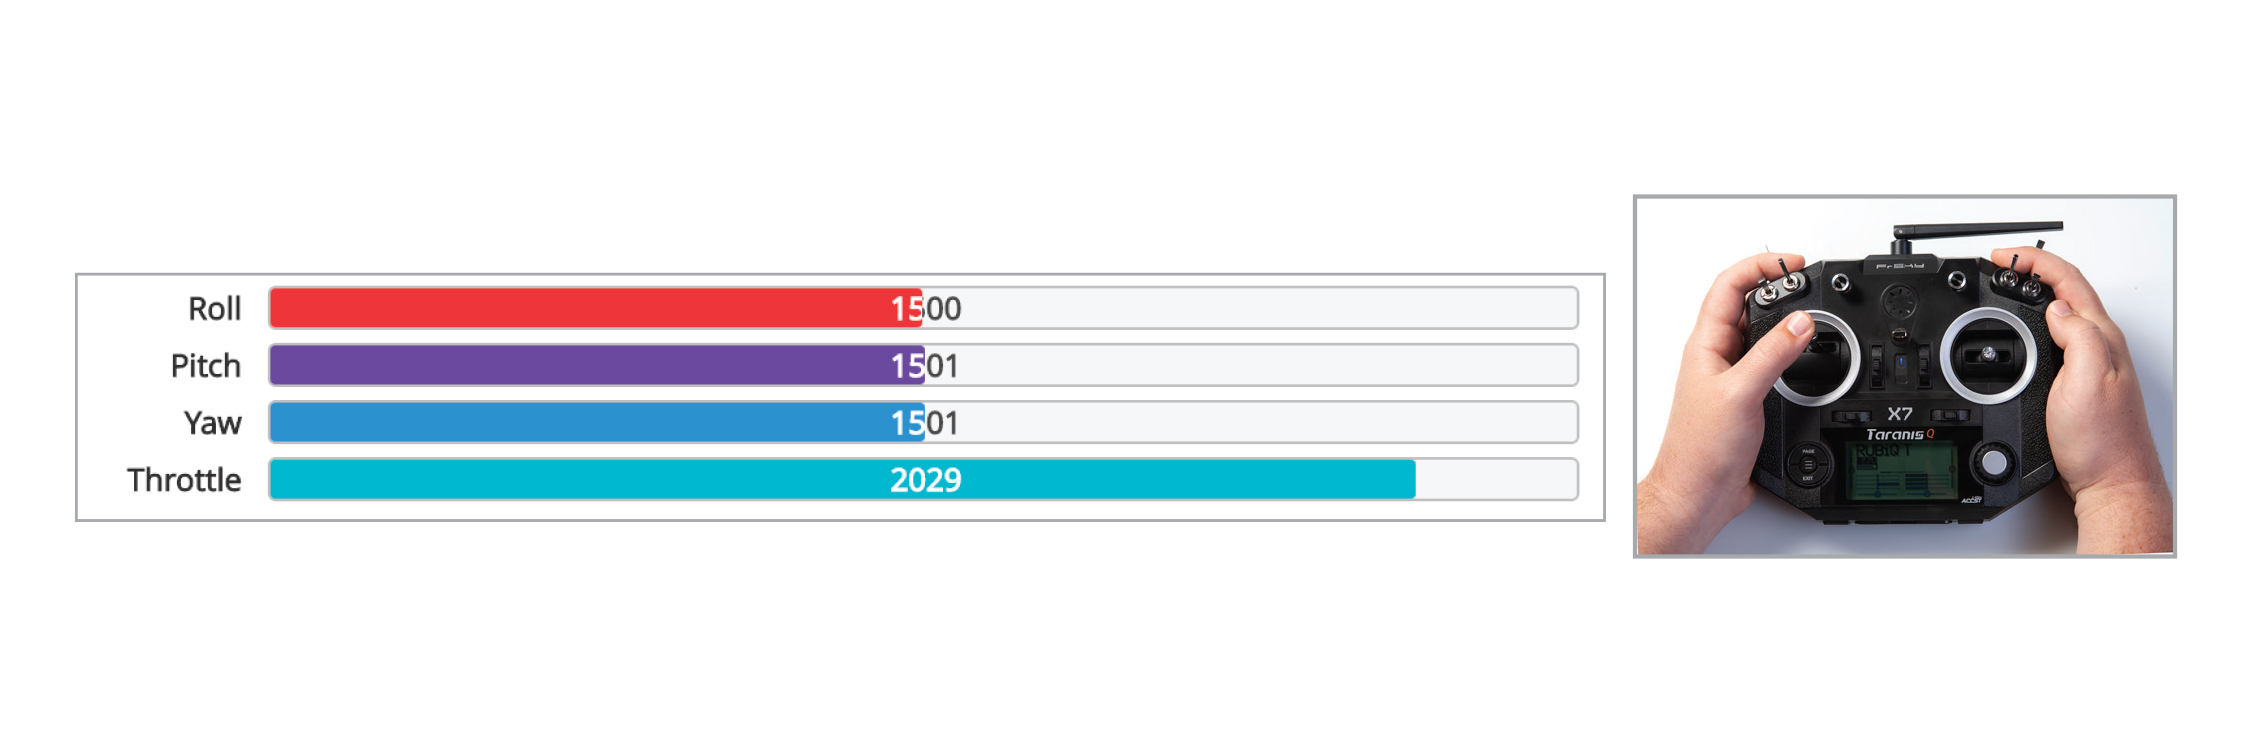
Pitch:
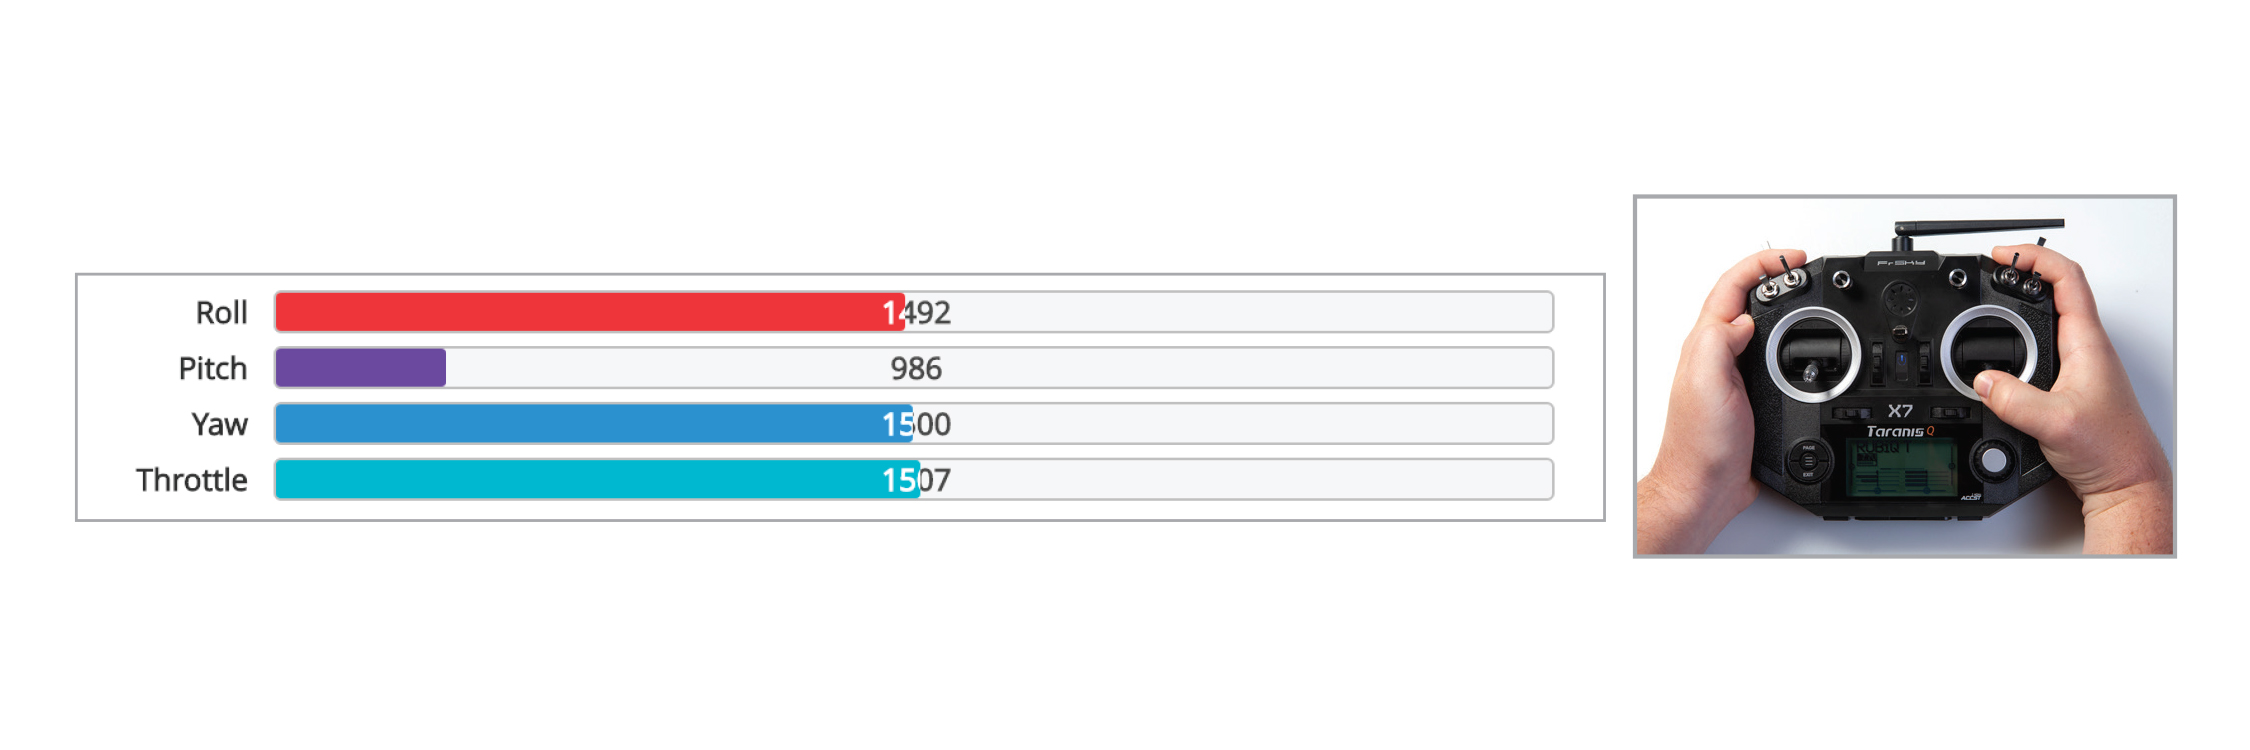
Yaw:

Roll:

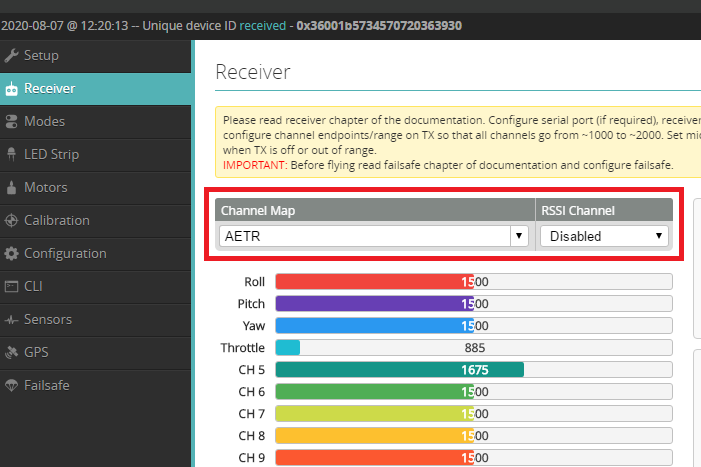
Channel Map AETR
If your bars aren’t moving in the RubiQ Configurator, then the bind was not successful. Return to Step 1 of the Configuration Guide and rework through the binding process.
If you continue to experience issues, check that you’re operating on the correct version of the RubiQ Configurator. You must download the RubiQ Configurator directly from rubiq.edventures.com.