Step 9. Set Magnetic Declination
What You Need:
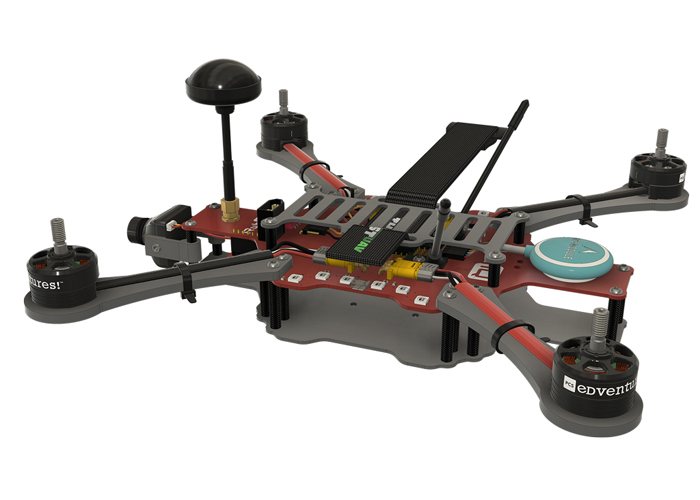
RubiQ 2.0
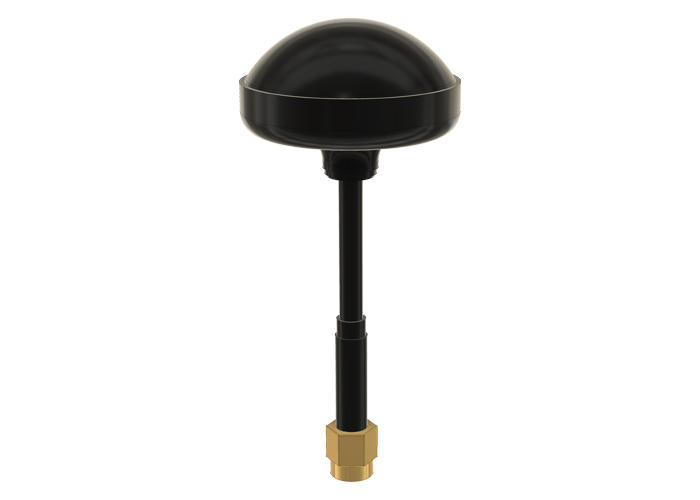
Antenna

RubiQ Configurator
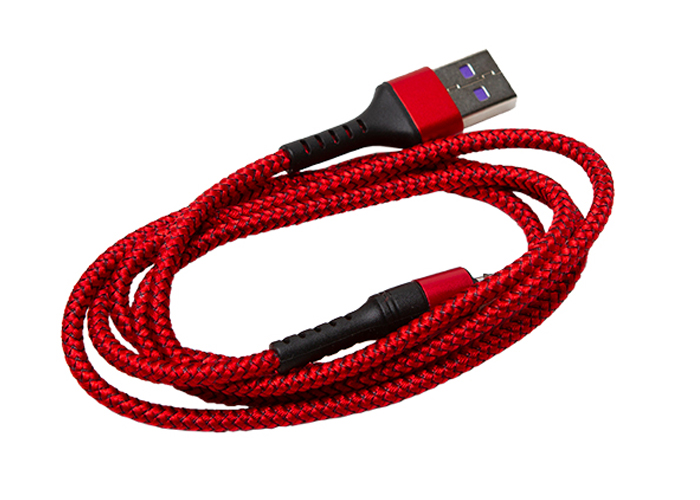
USB Cable
Steps:
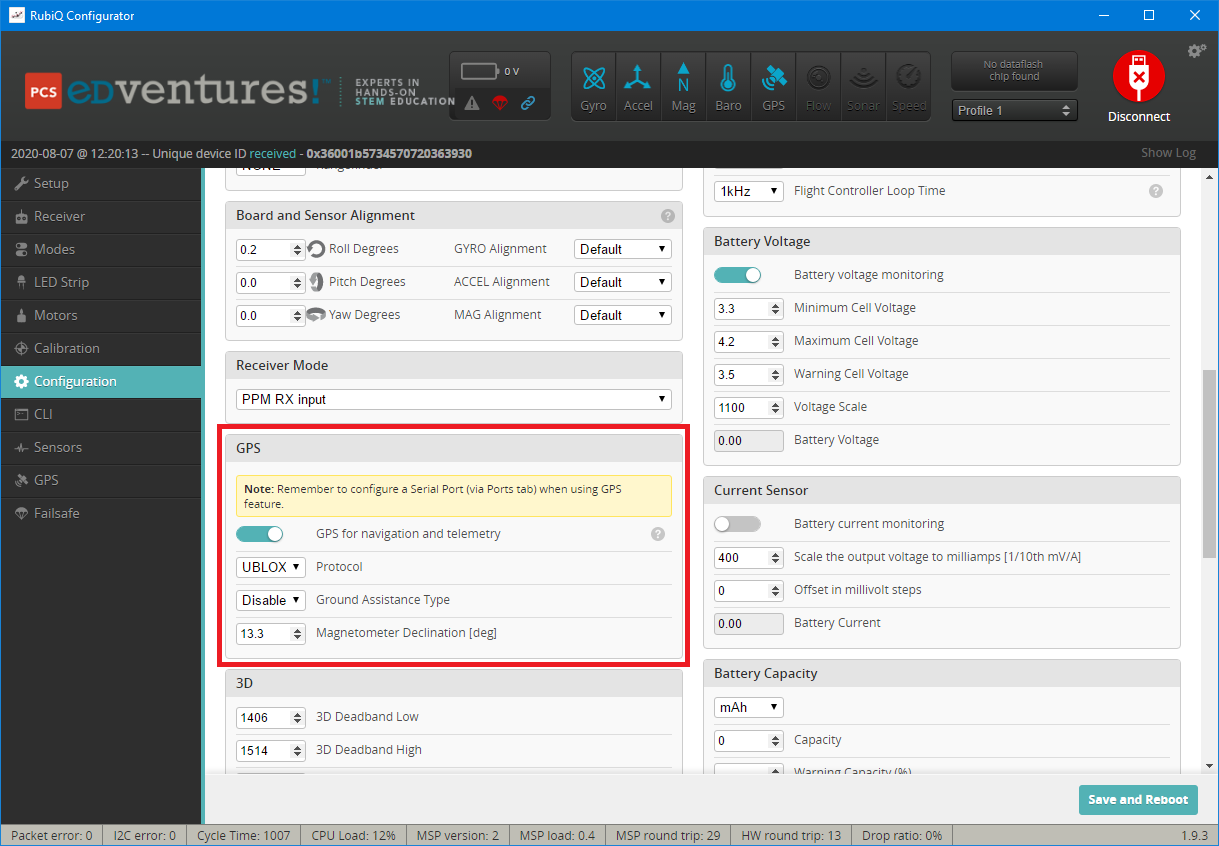
Go to the Configuration tab and scroll down to the GPS section.
- Look up the magnetic declination for your zip code on the NOAA website at: https://www.ngdc.noaa.gov/geomag-web.
- Enter your zip code, click Calculate, and then adjust the degrees in the RubiQ Configurator. For example, if the declination is 13° 28′, enter “13.28”.
- Click Save and Reboot in the lower right corner to set the new declination.
Note: magnetic declination is the difference between magnetic north and true north, and it is the key to accurate navigation. Declination is shown with an “E” or a “W” for East or West. If it is E, enter a positive number, and if it is W, enter a negative number with a “minus” sign. For example, 13° 28′ E would be entered as “13.28” and 13° 28′ W would be entered as “-13.28” in the RubiQ Configurator.